Week4
Week 4
Electronic soldering
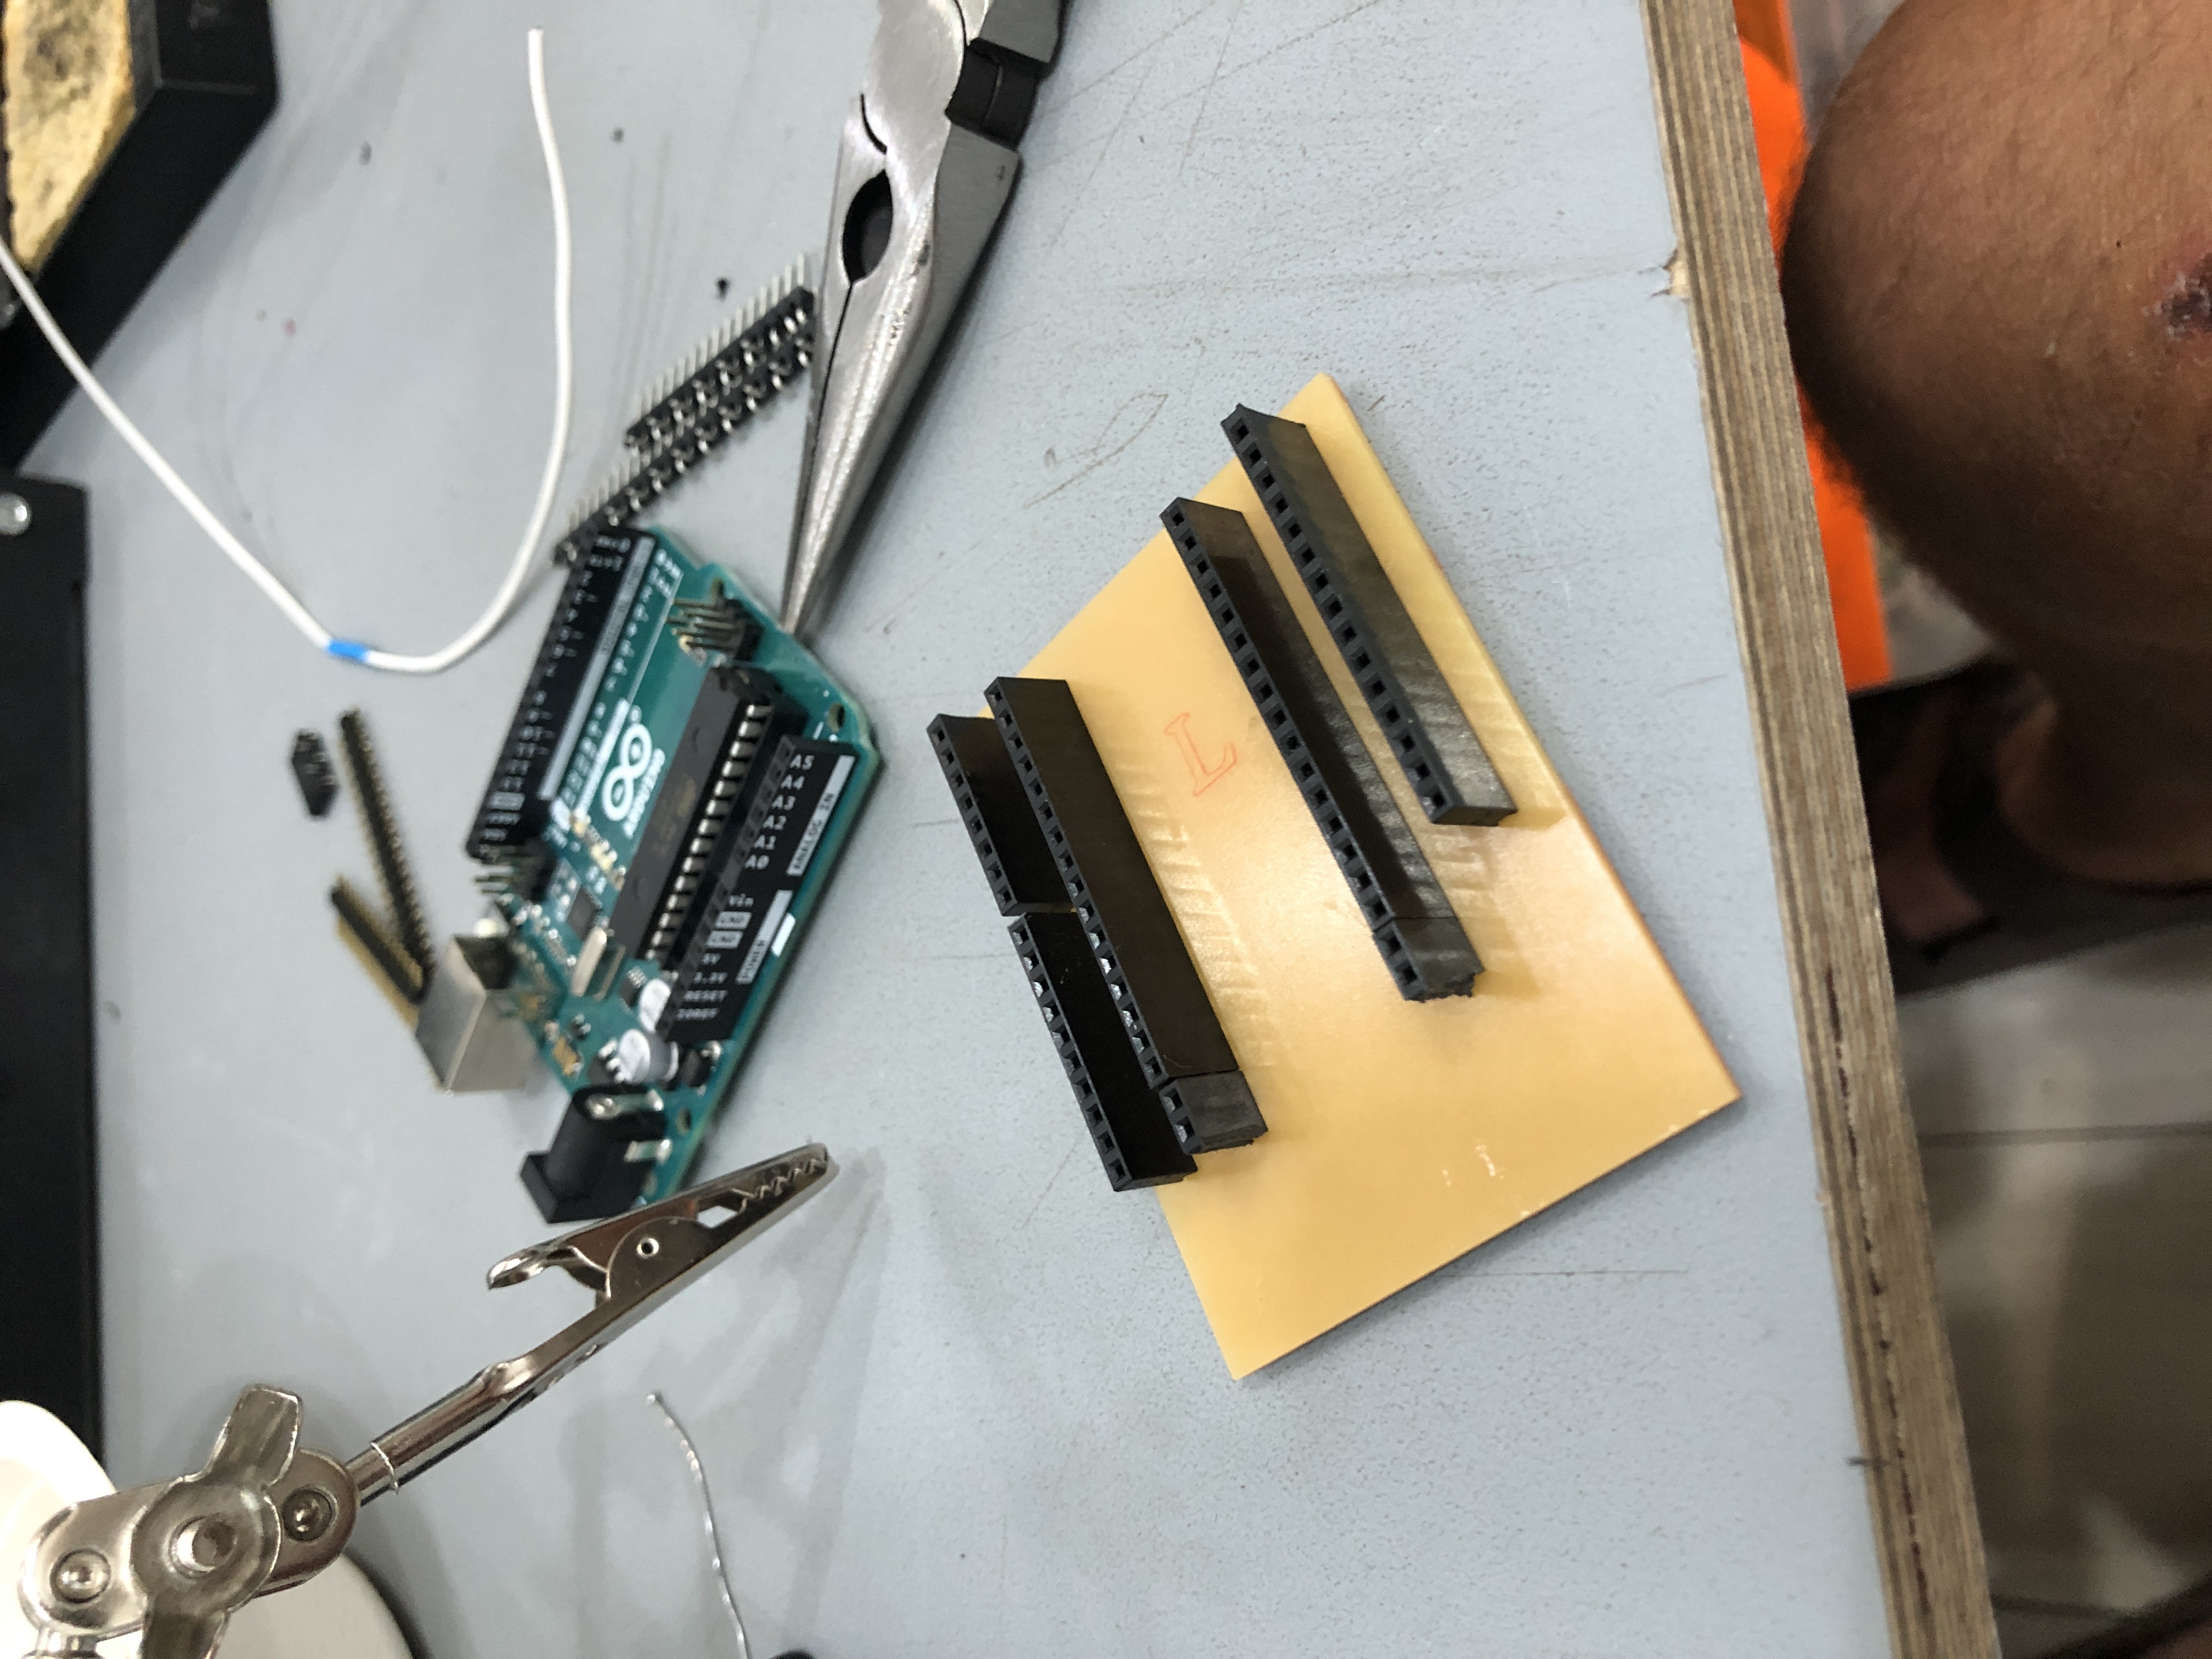
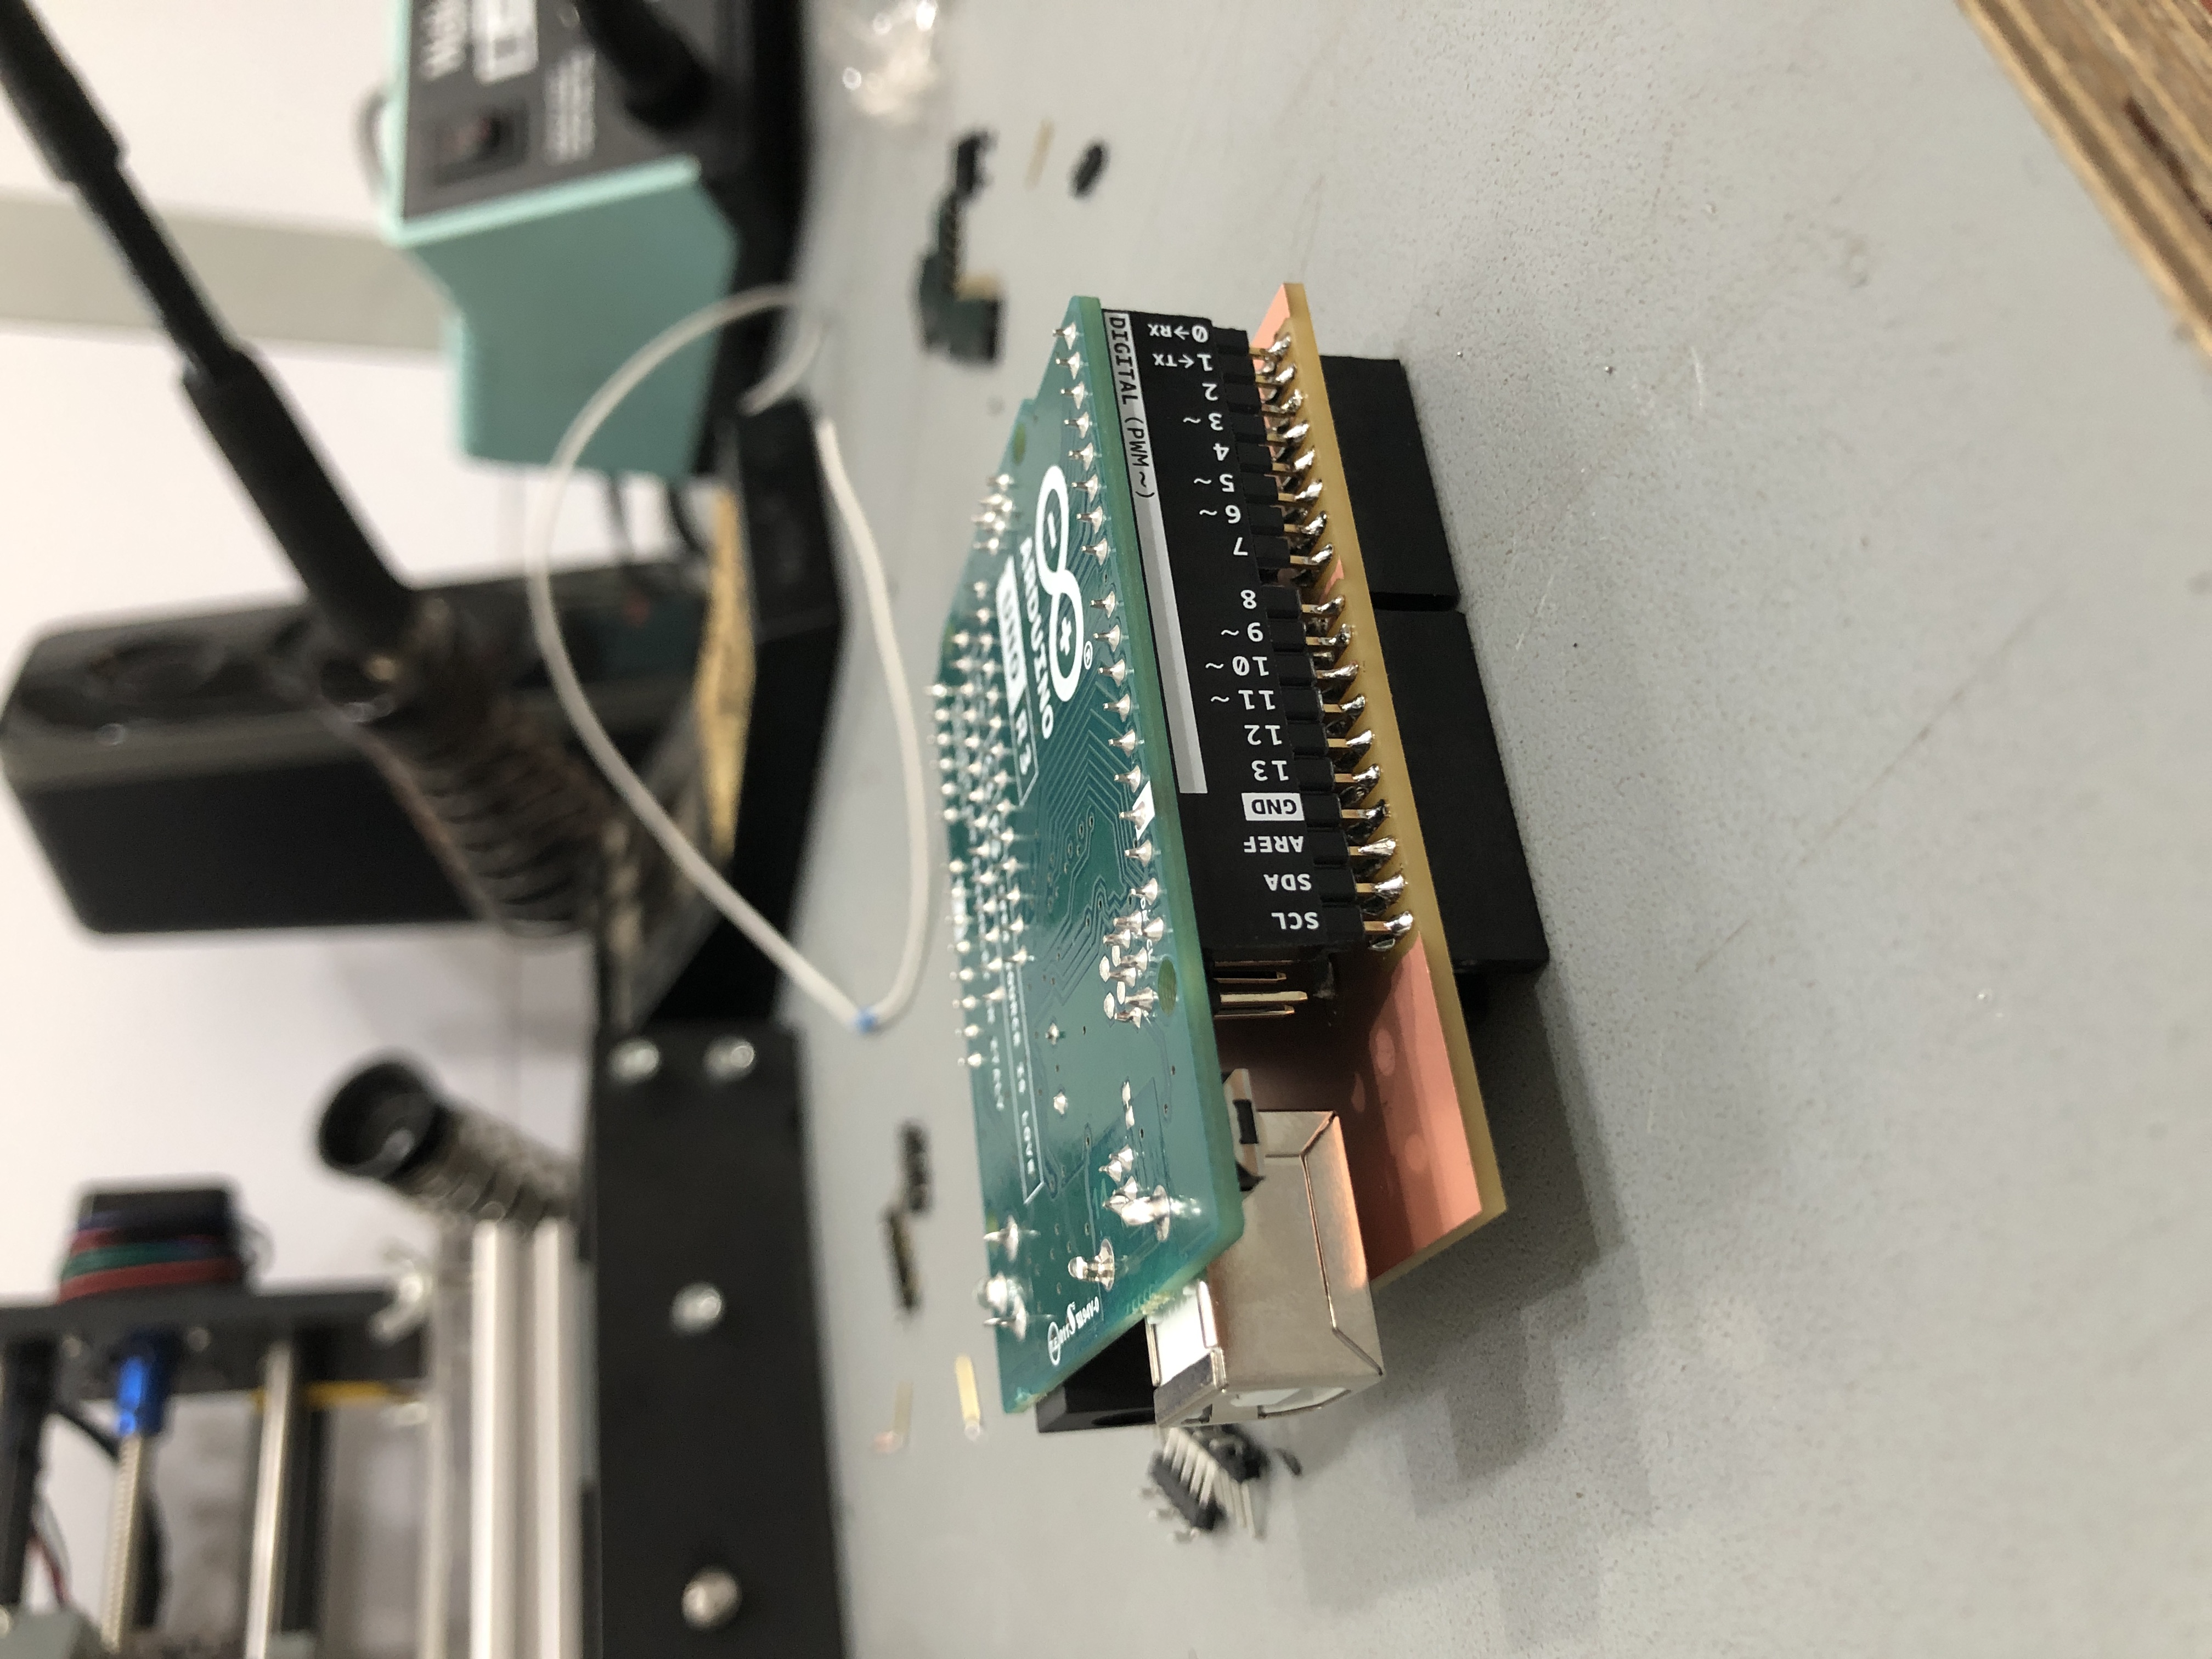
For this task, we cut a shield for Arduino 1, that enable us to jump from the breadboard, to the shield. We needed to have all of the pins available to connect preassure sensors, buttons and potentiometers, so we also did two channels for 5v and ground.
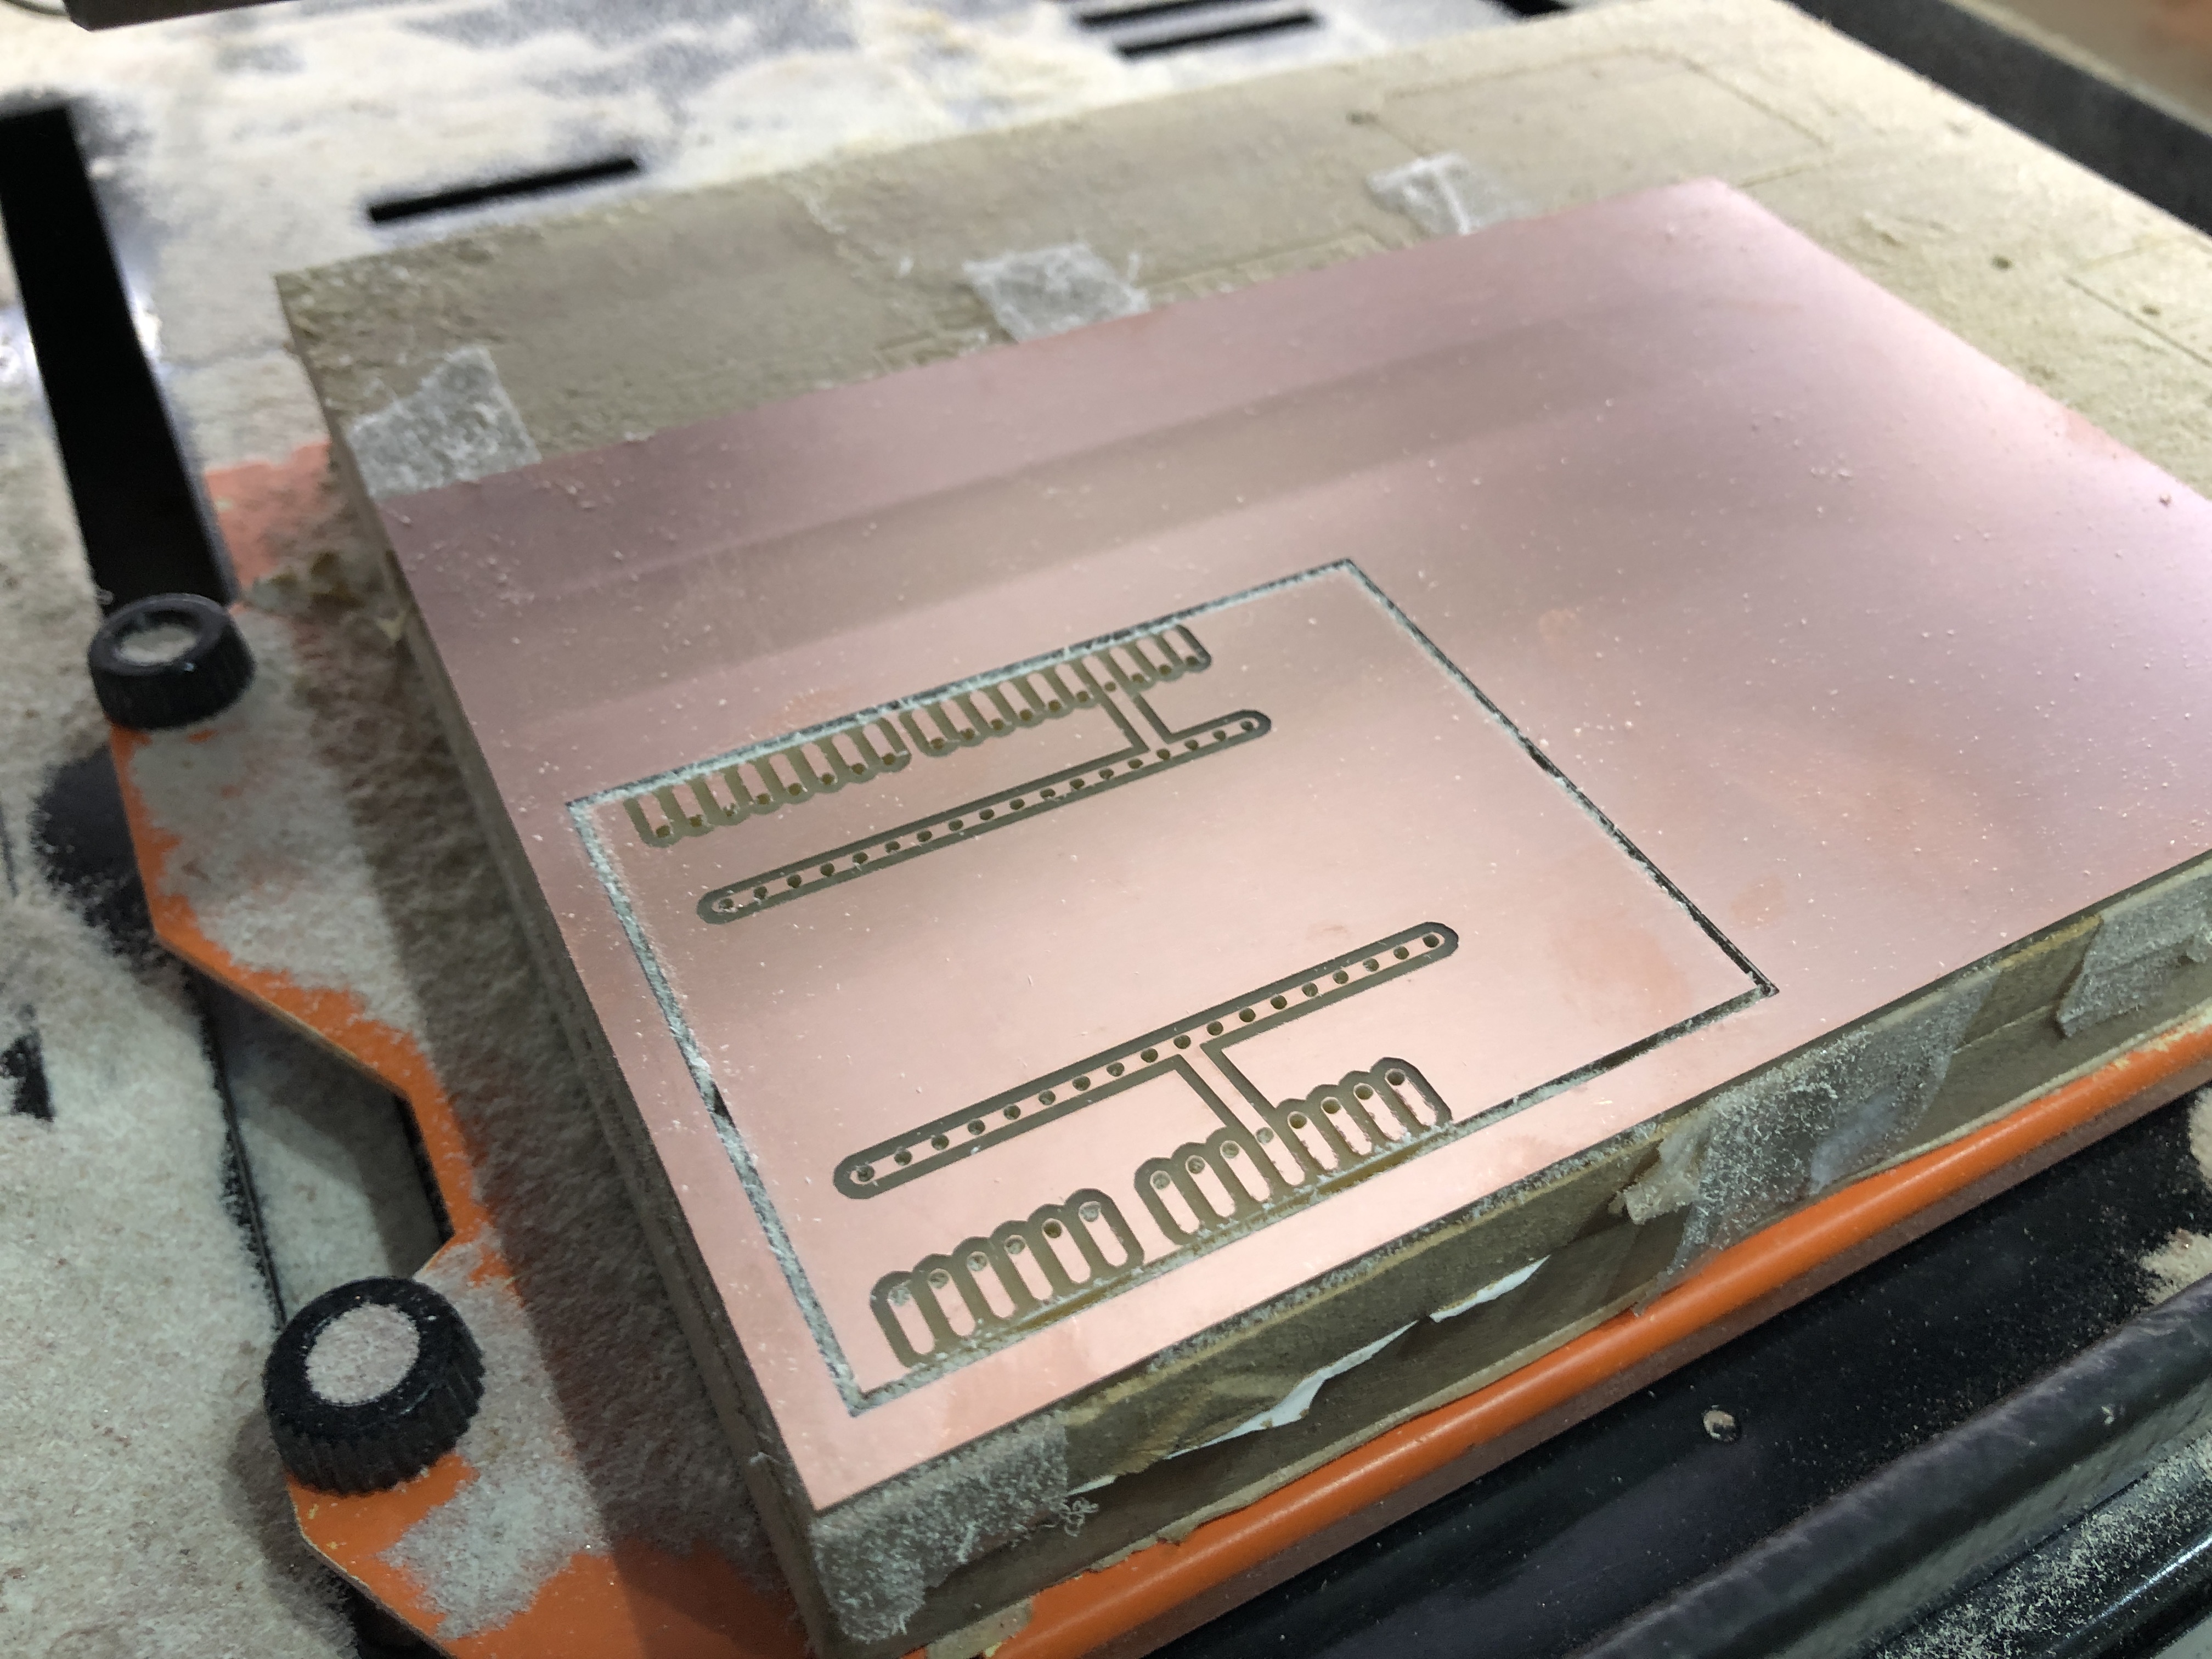
For the first step, It was necesarry to solder female pins, that share the Arduino UNO distribution,also it was necesarry to cut some rows to reach the number of pins needed.
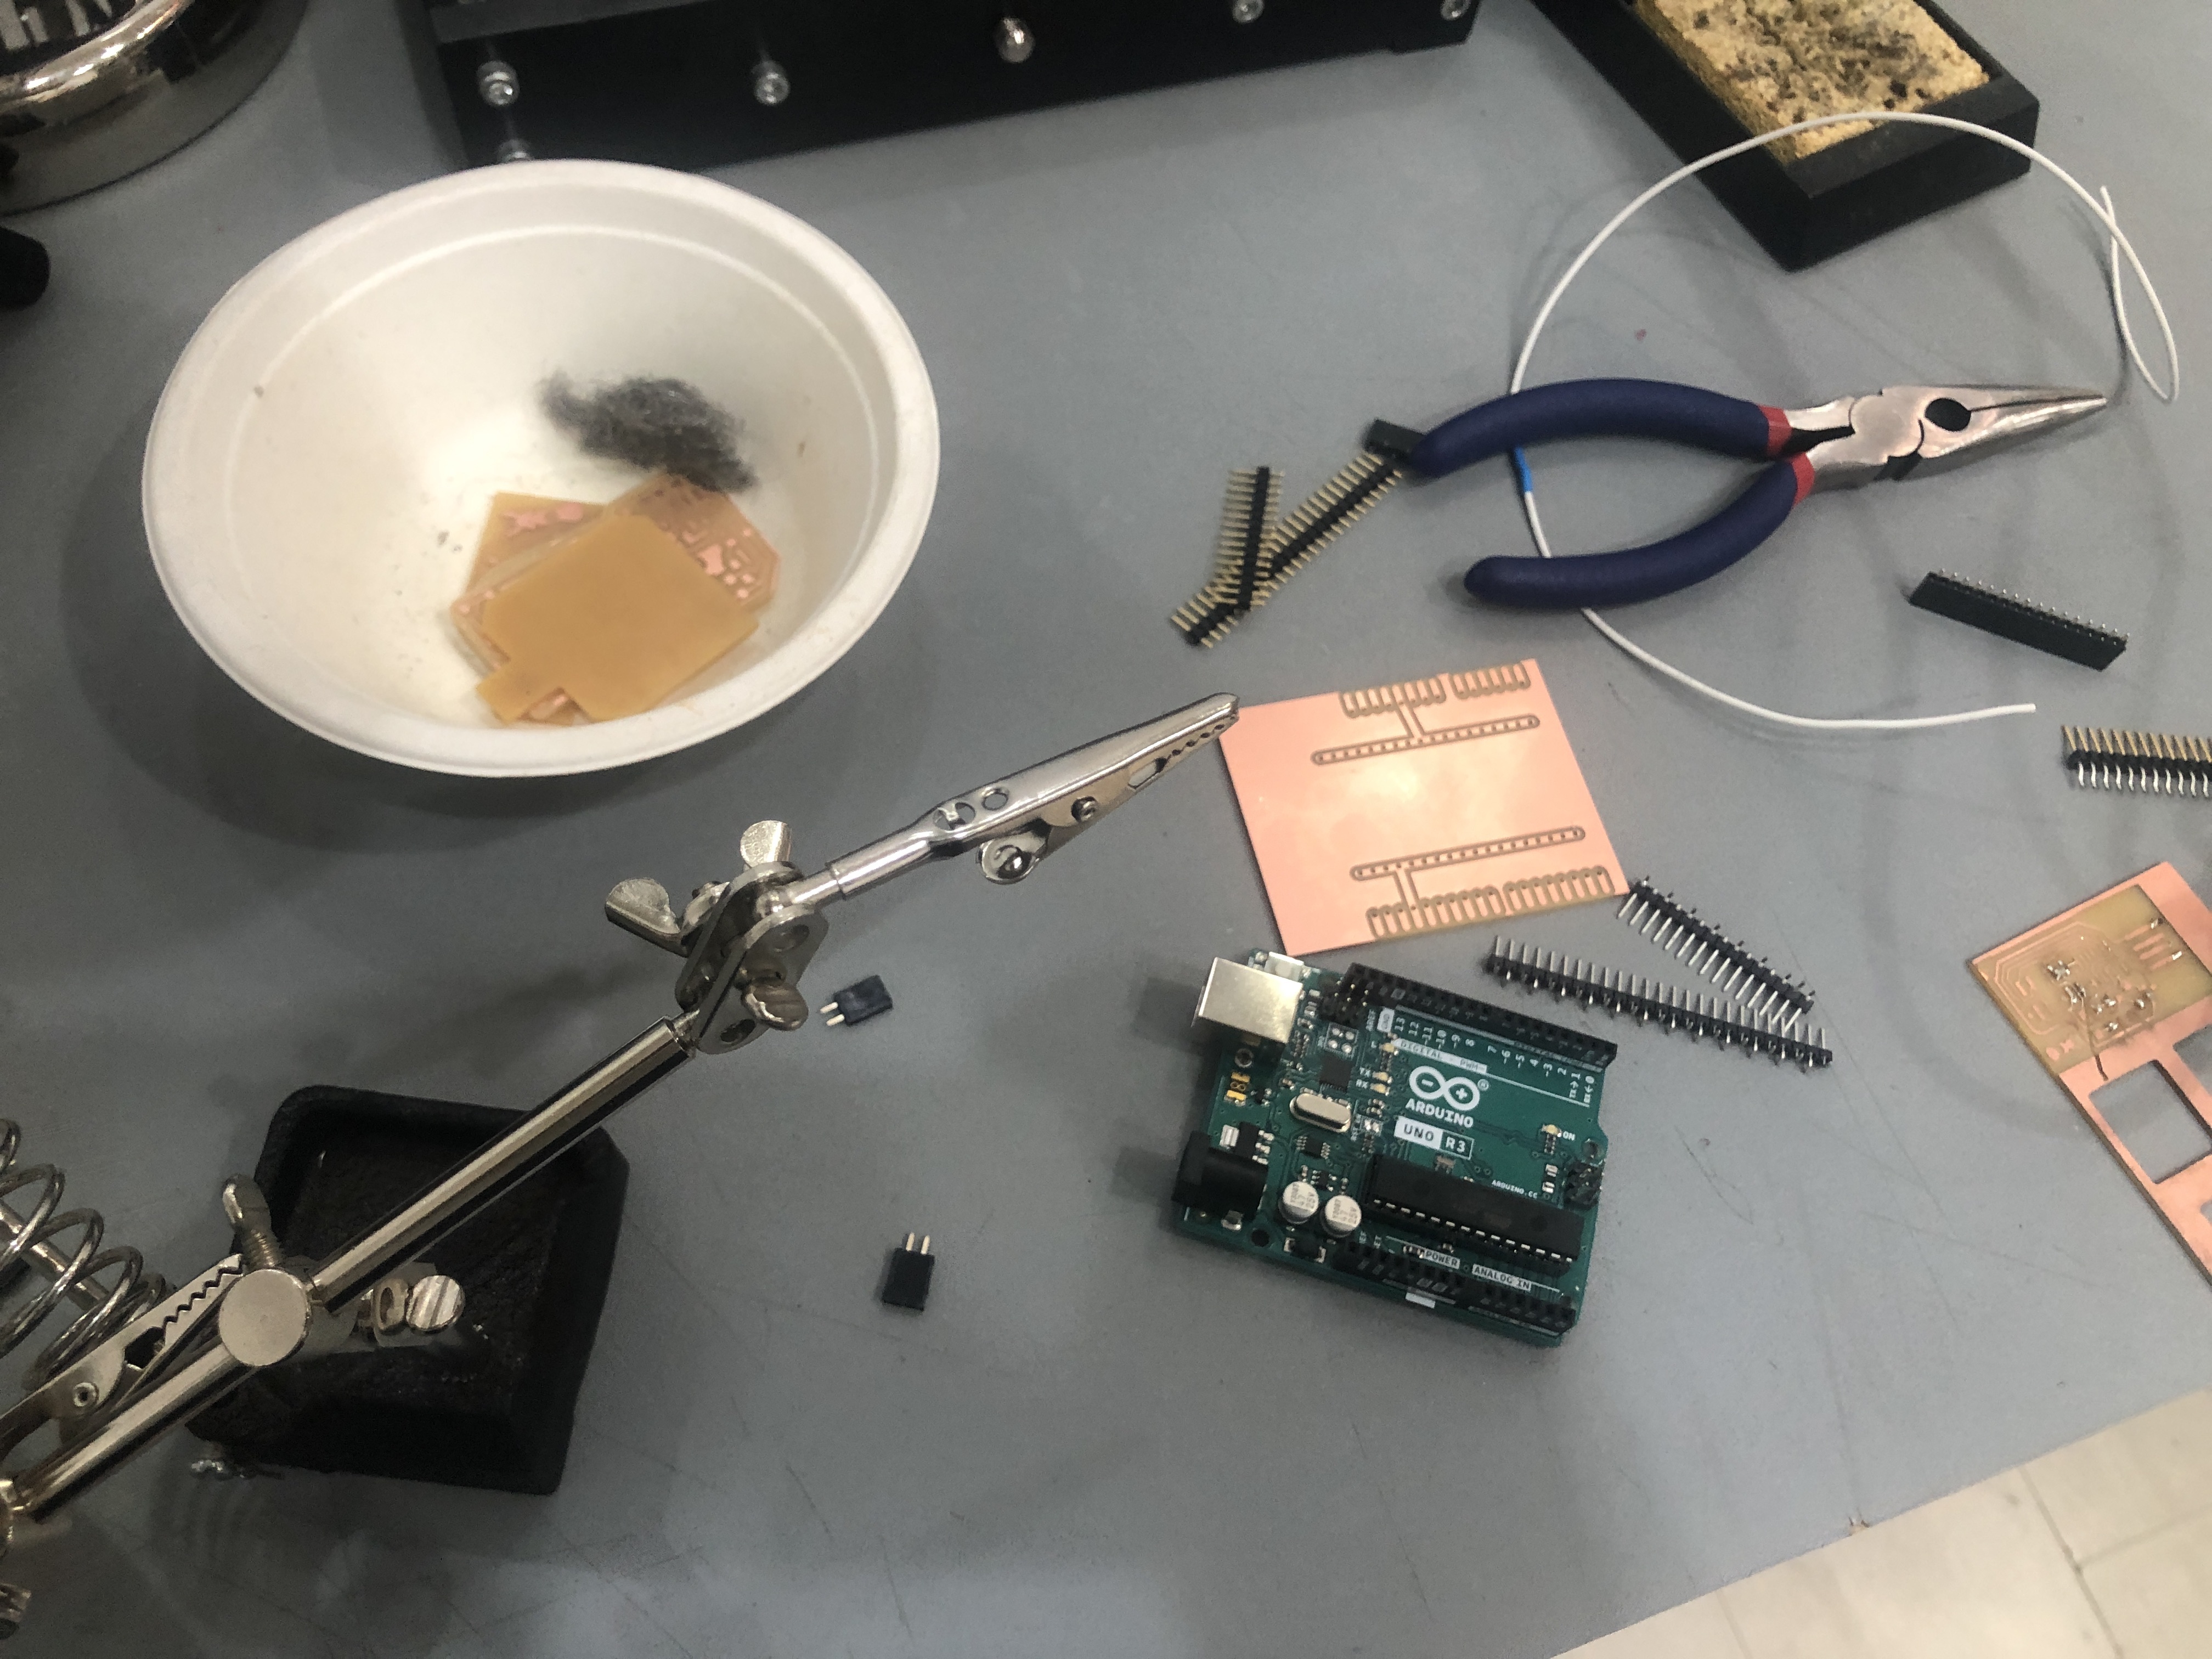
The tool that grab objects like a tweeser, was very usefull for soldering, because it kept the board steady, to use both hands to grab the soldering material and the solder tool
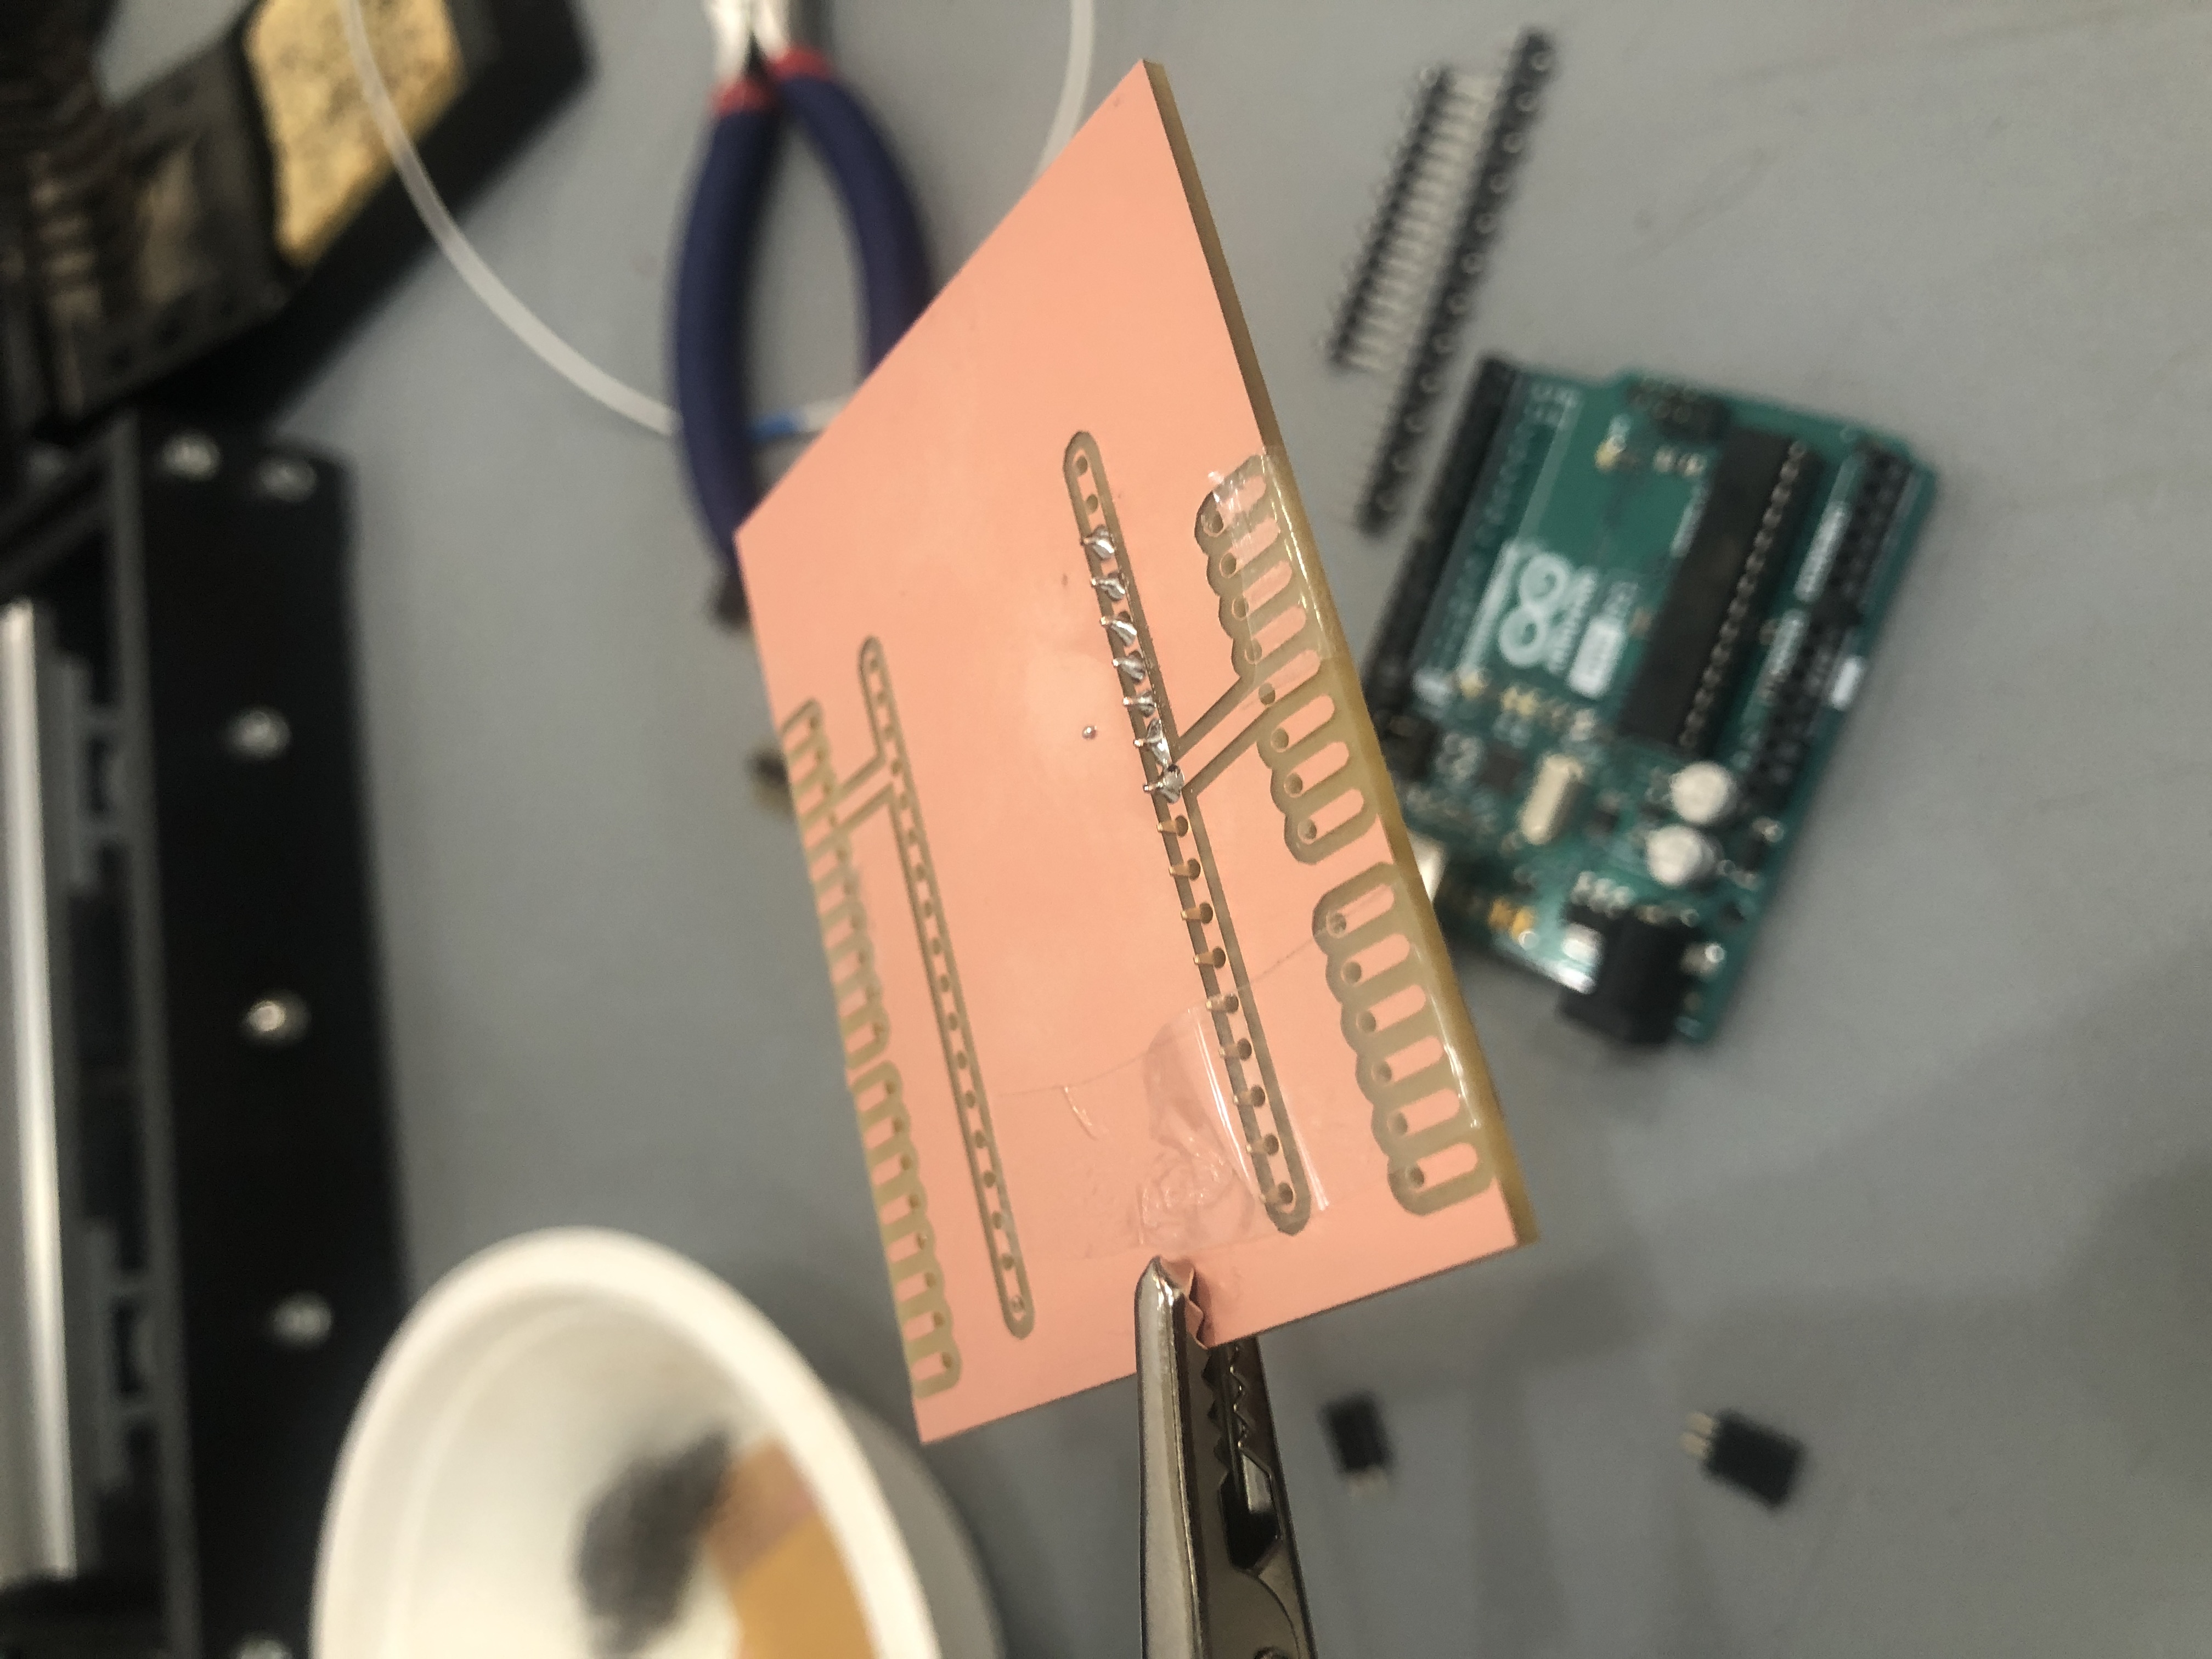
The soldering of pins becomes mechanical after some attempts, so in a couple of minutes the four row of pins was ready.
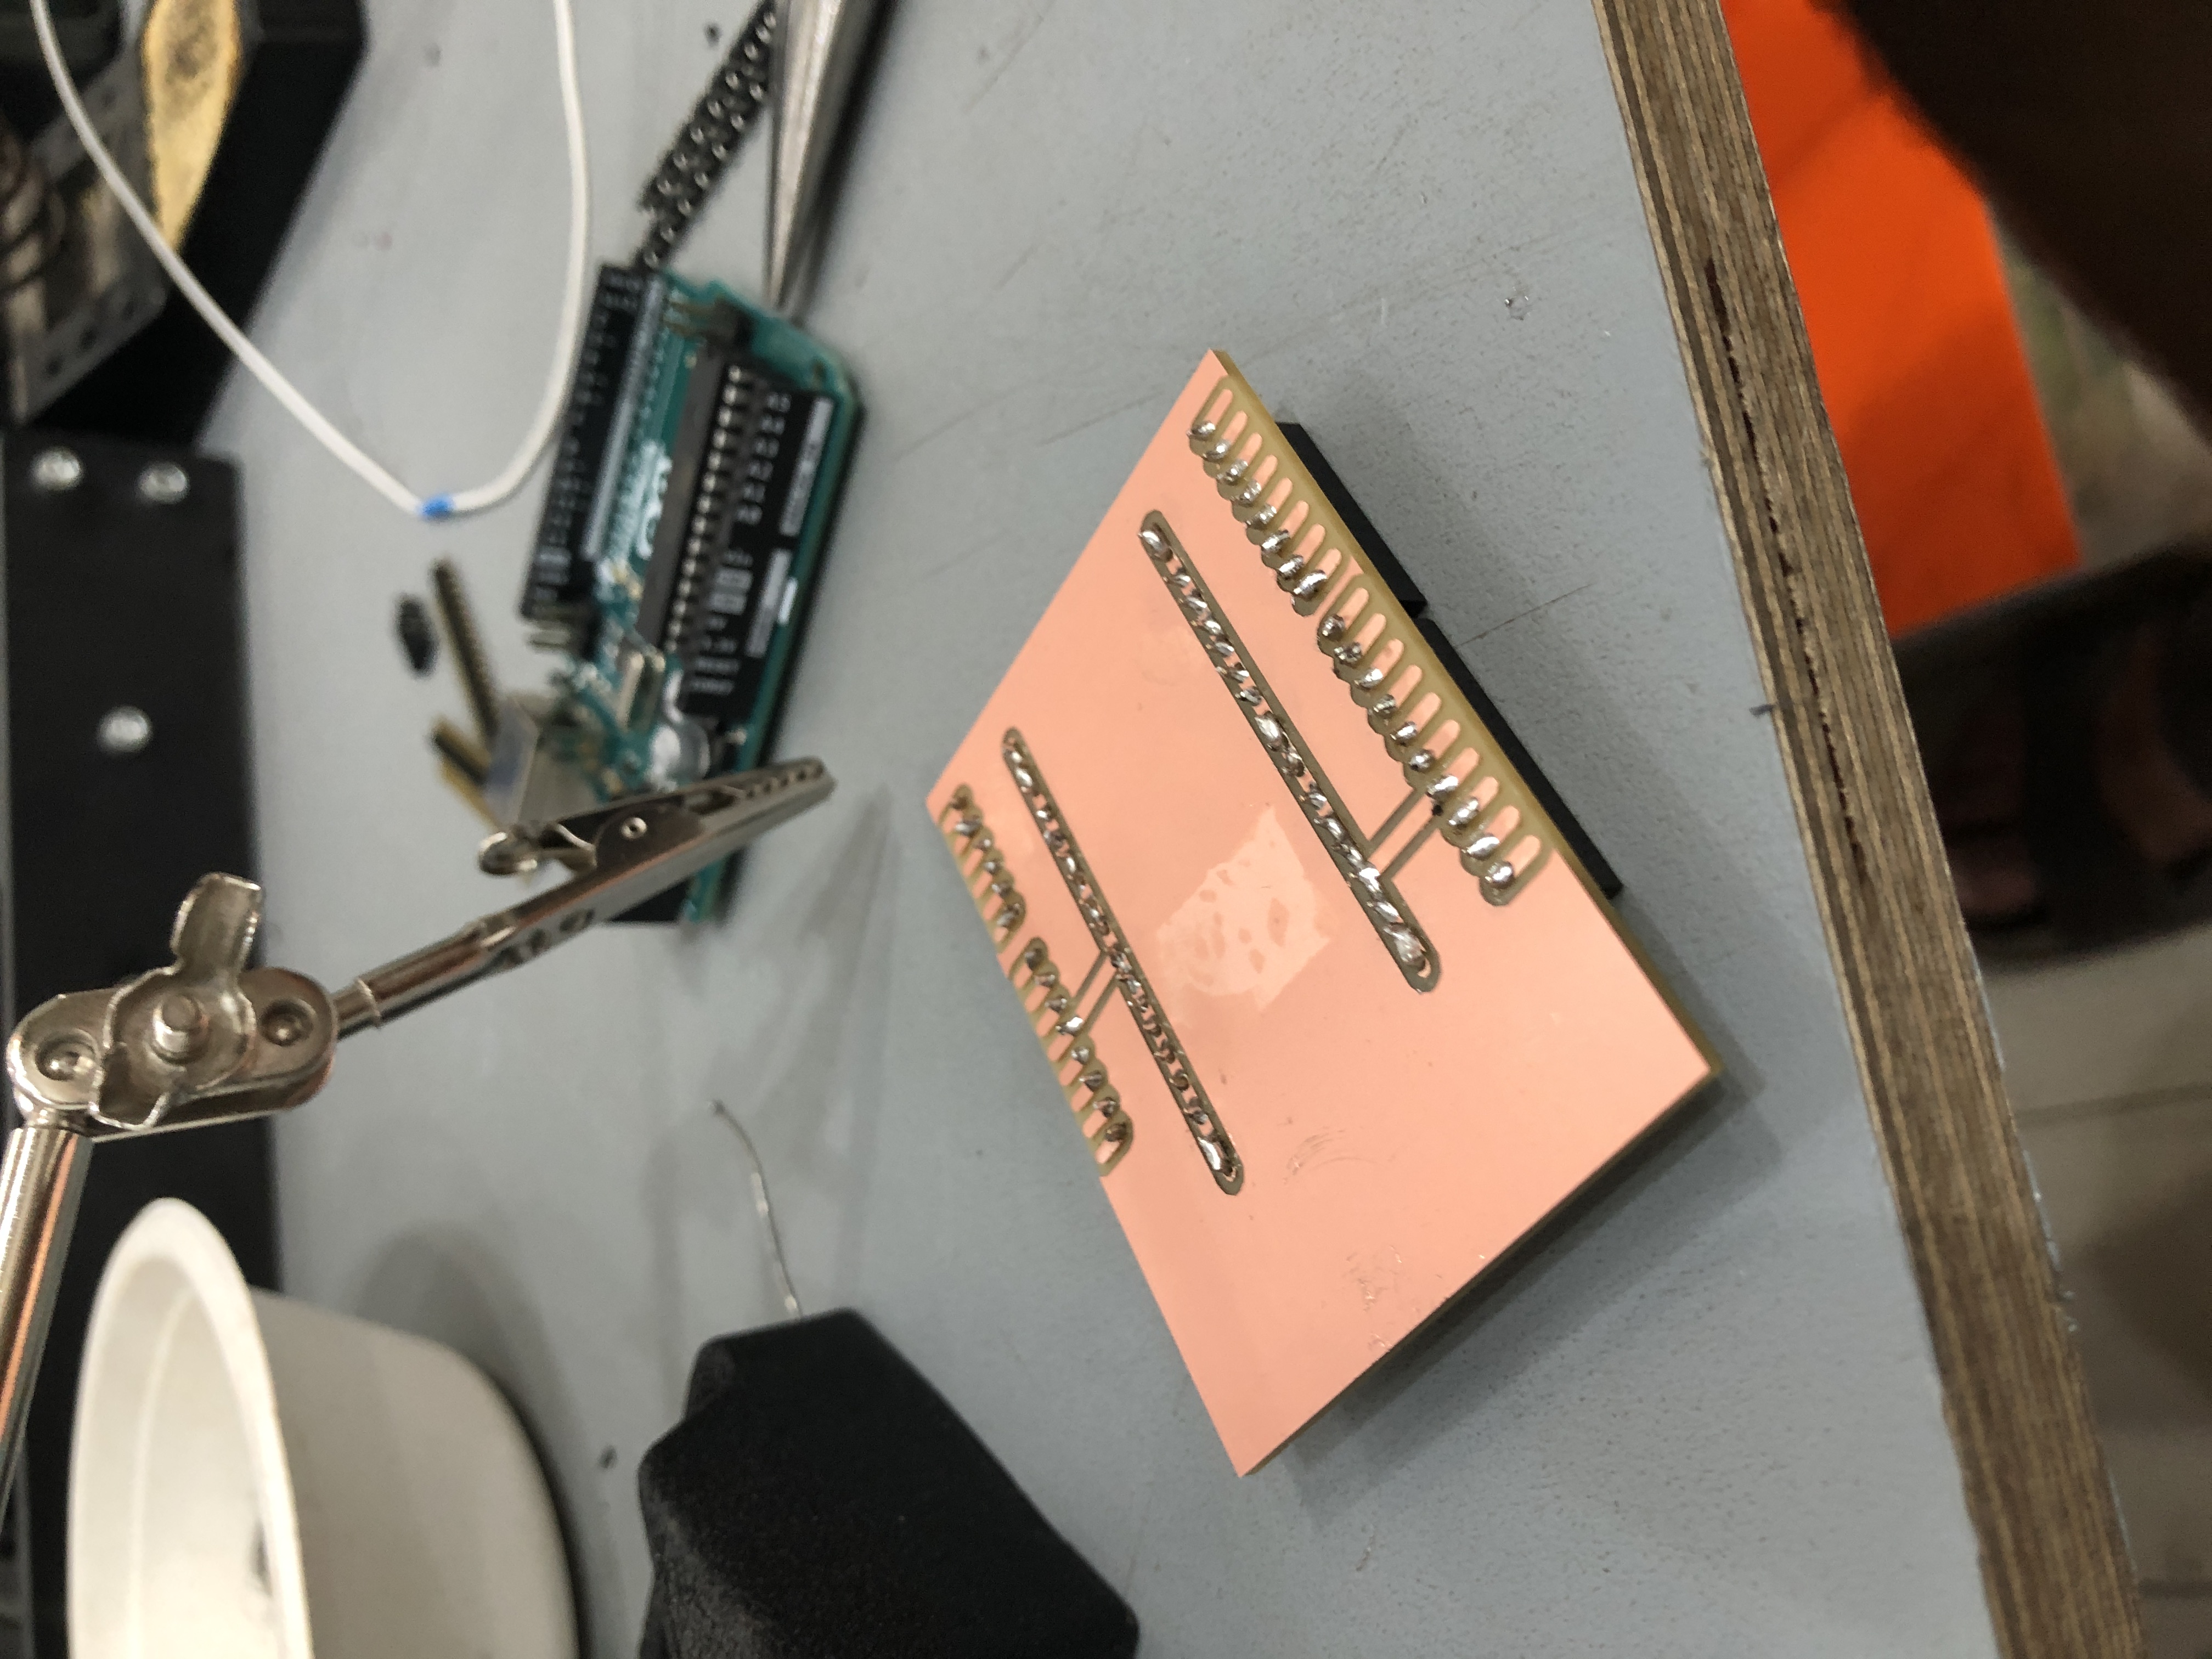
The challenge in this board, was to solder the male pins that plug the Arduino, because we made the space for the solder but with no holes, so the pins had to be perpendicular to the board, it is not the best solution, because after some movement its possible to break the soldering easy. But fir the prototype purposal, it works pretty good.
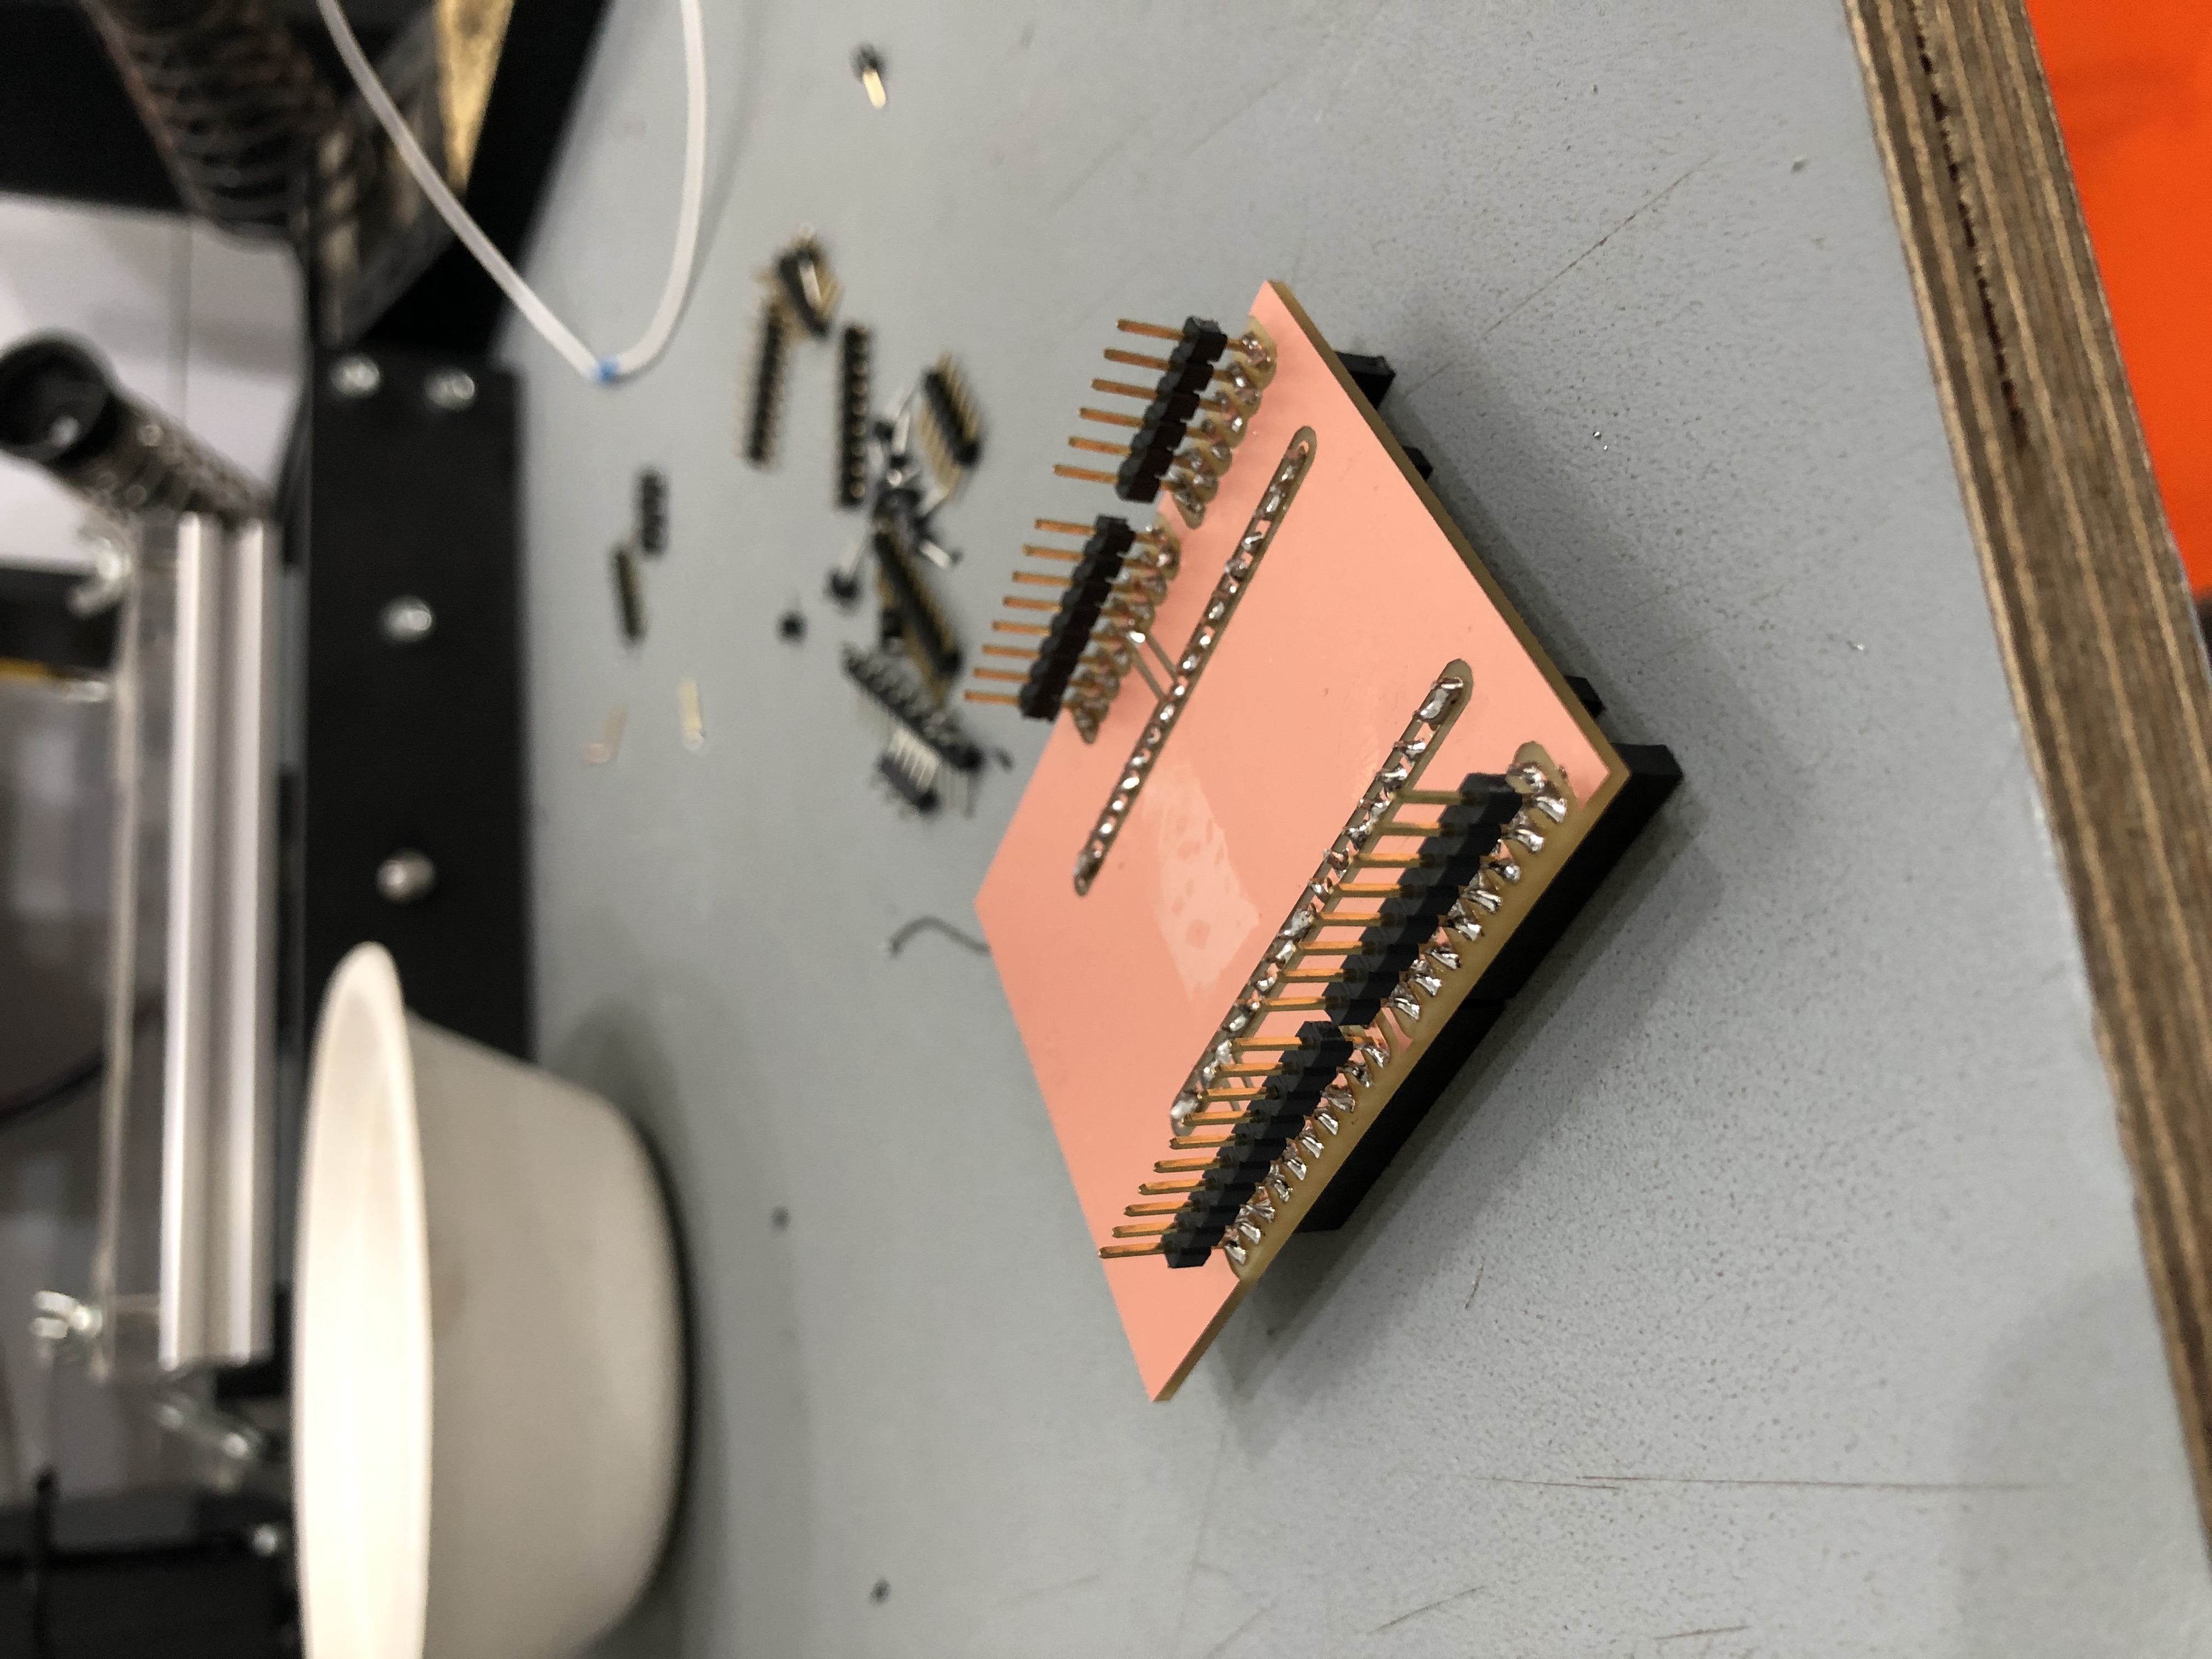
To solder this pins, it was easy firts to had the arduino plugged, and then solder the pins to the board.it ensure a correct display of the pins.
After the soldering, we manage to try all the pins, with the arduino connected to the computer, having sucess because they all worked fine.
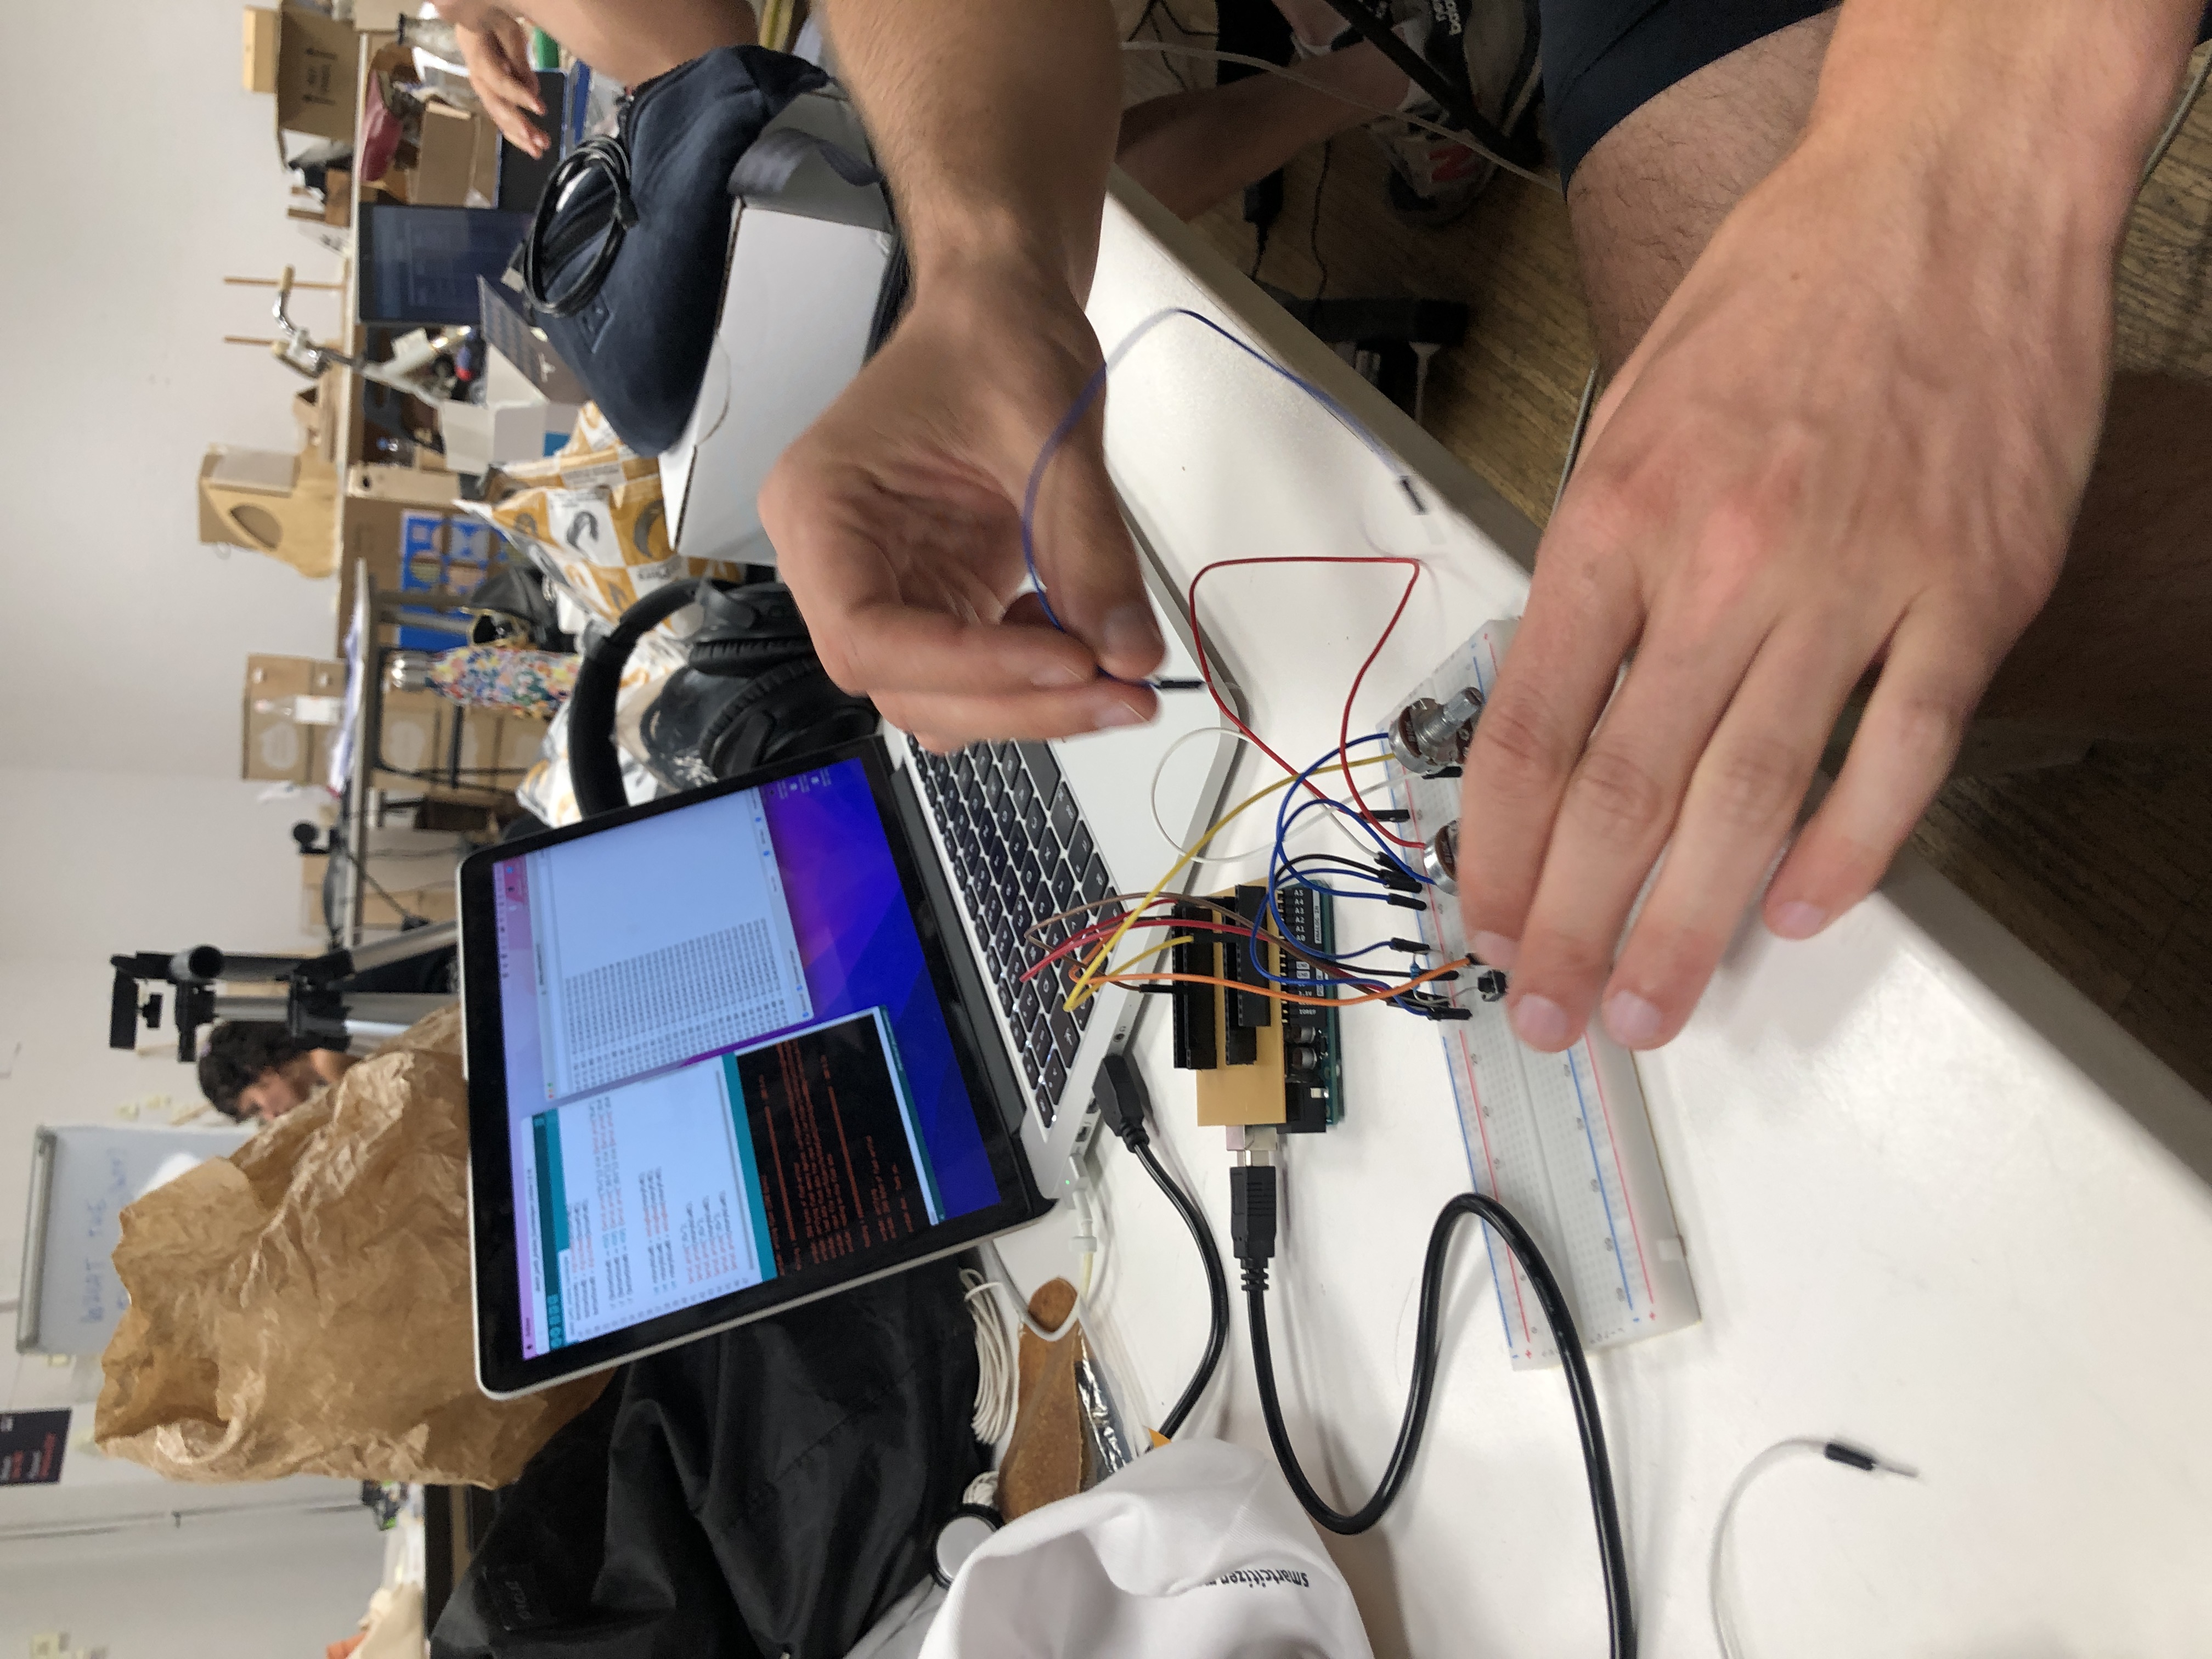
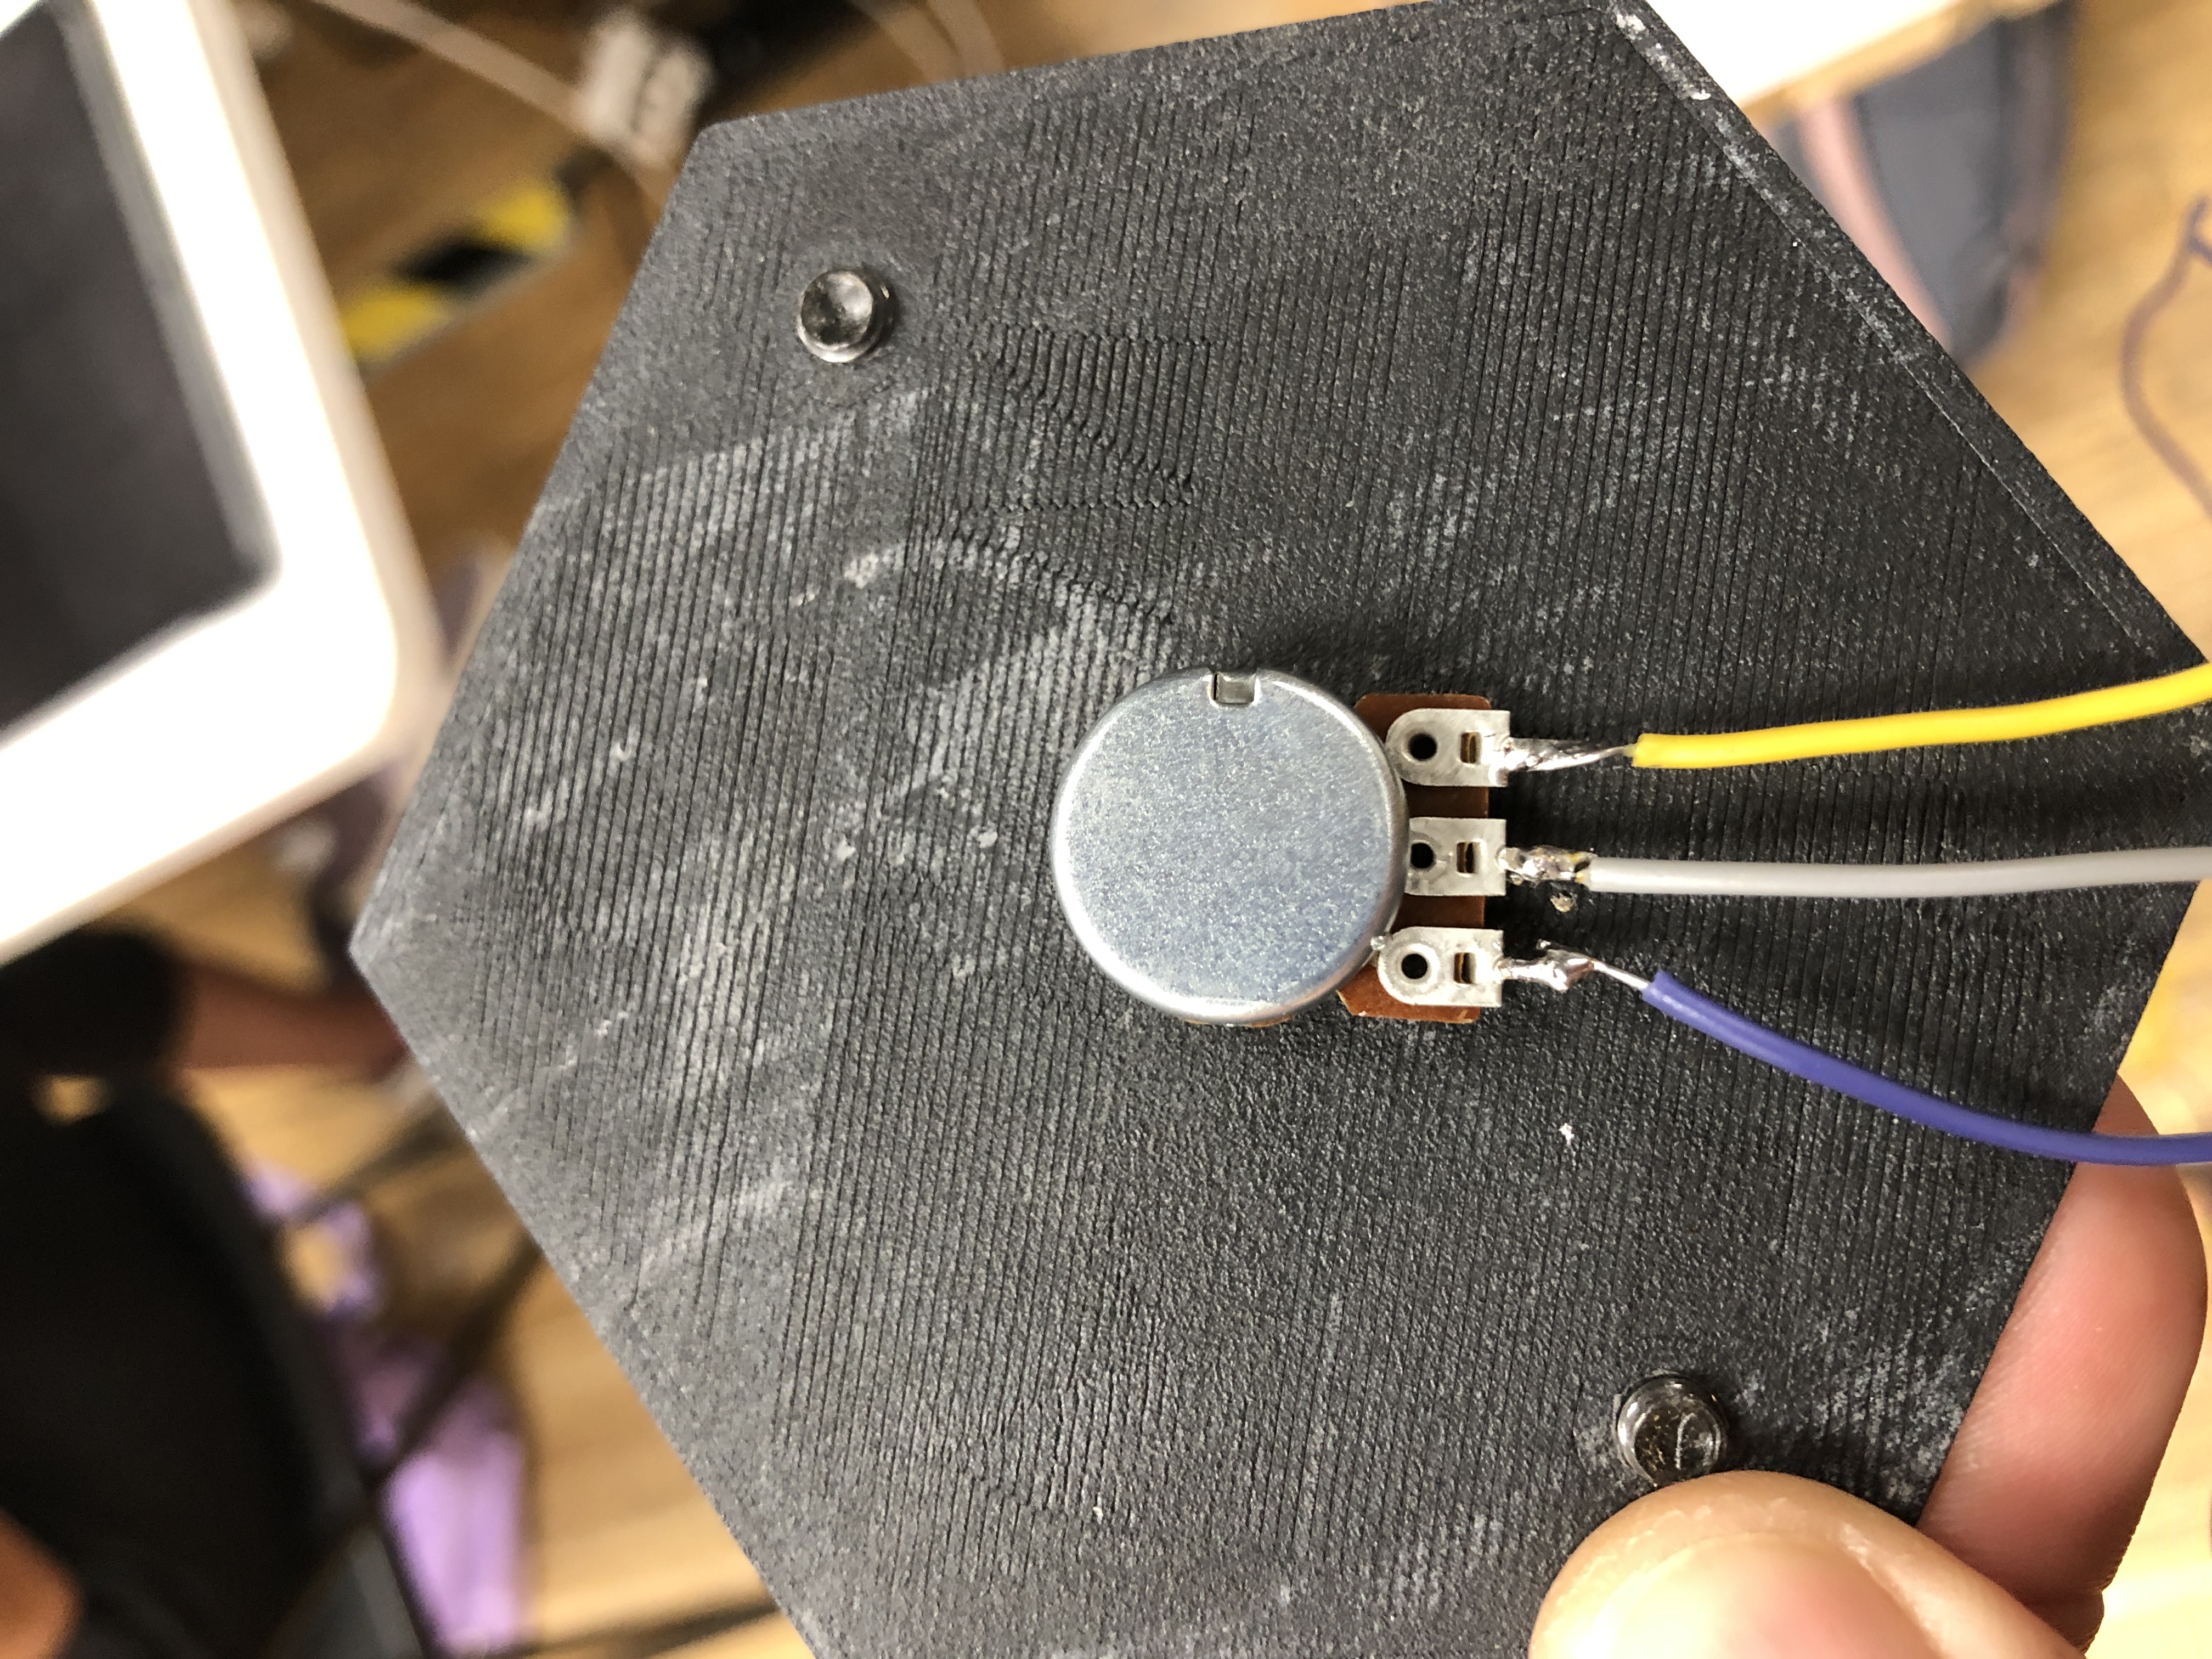
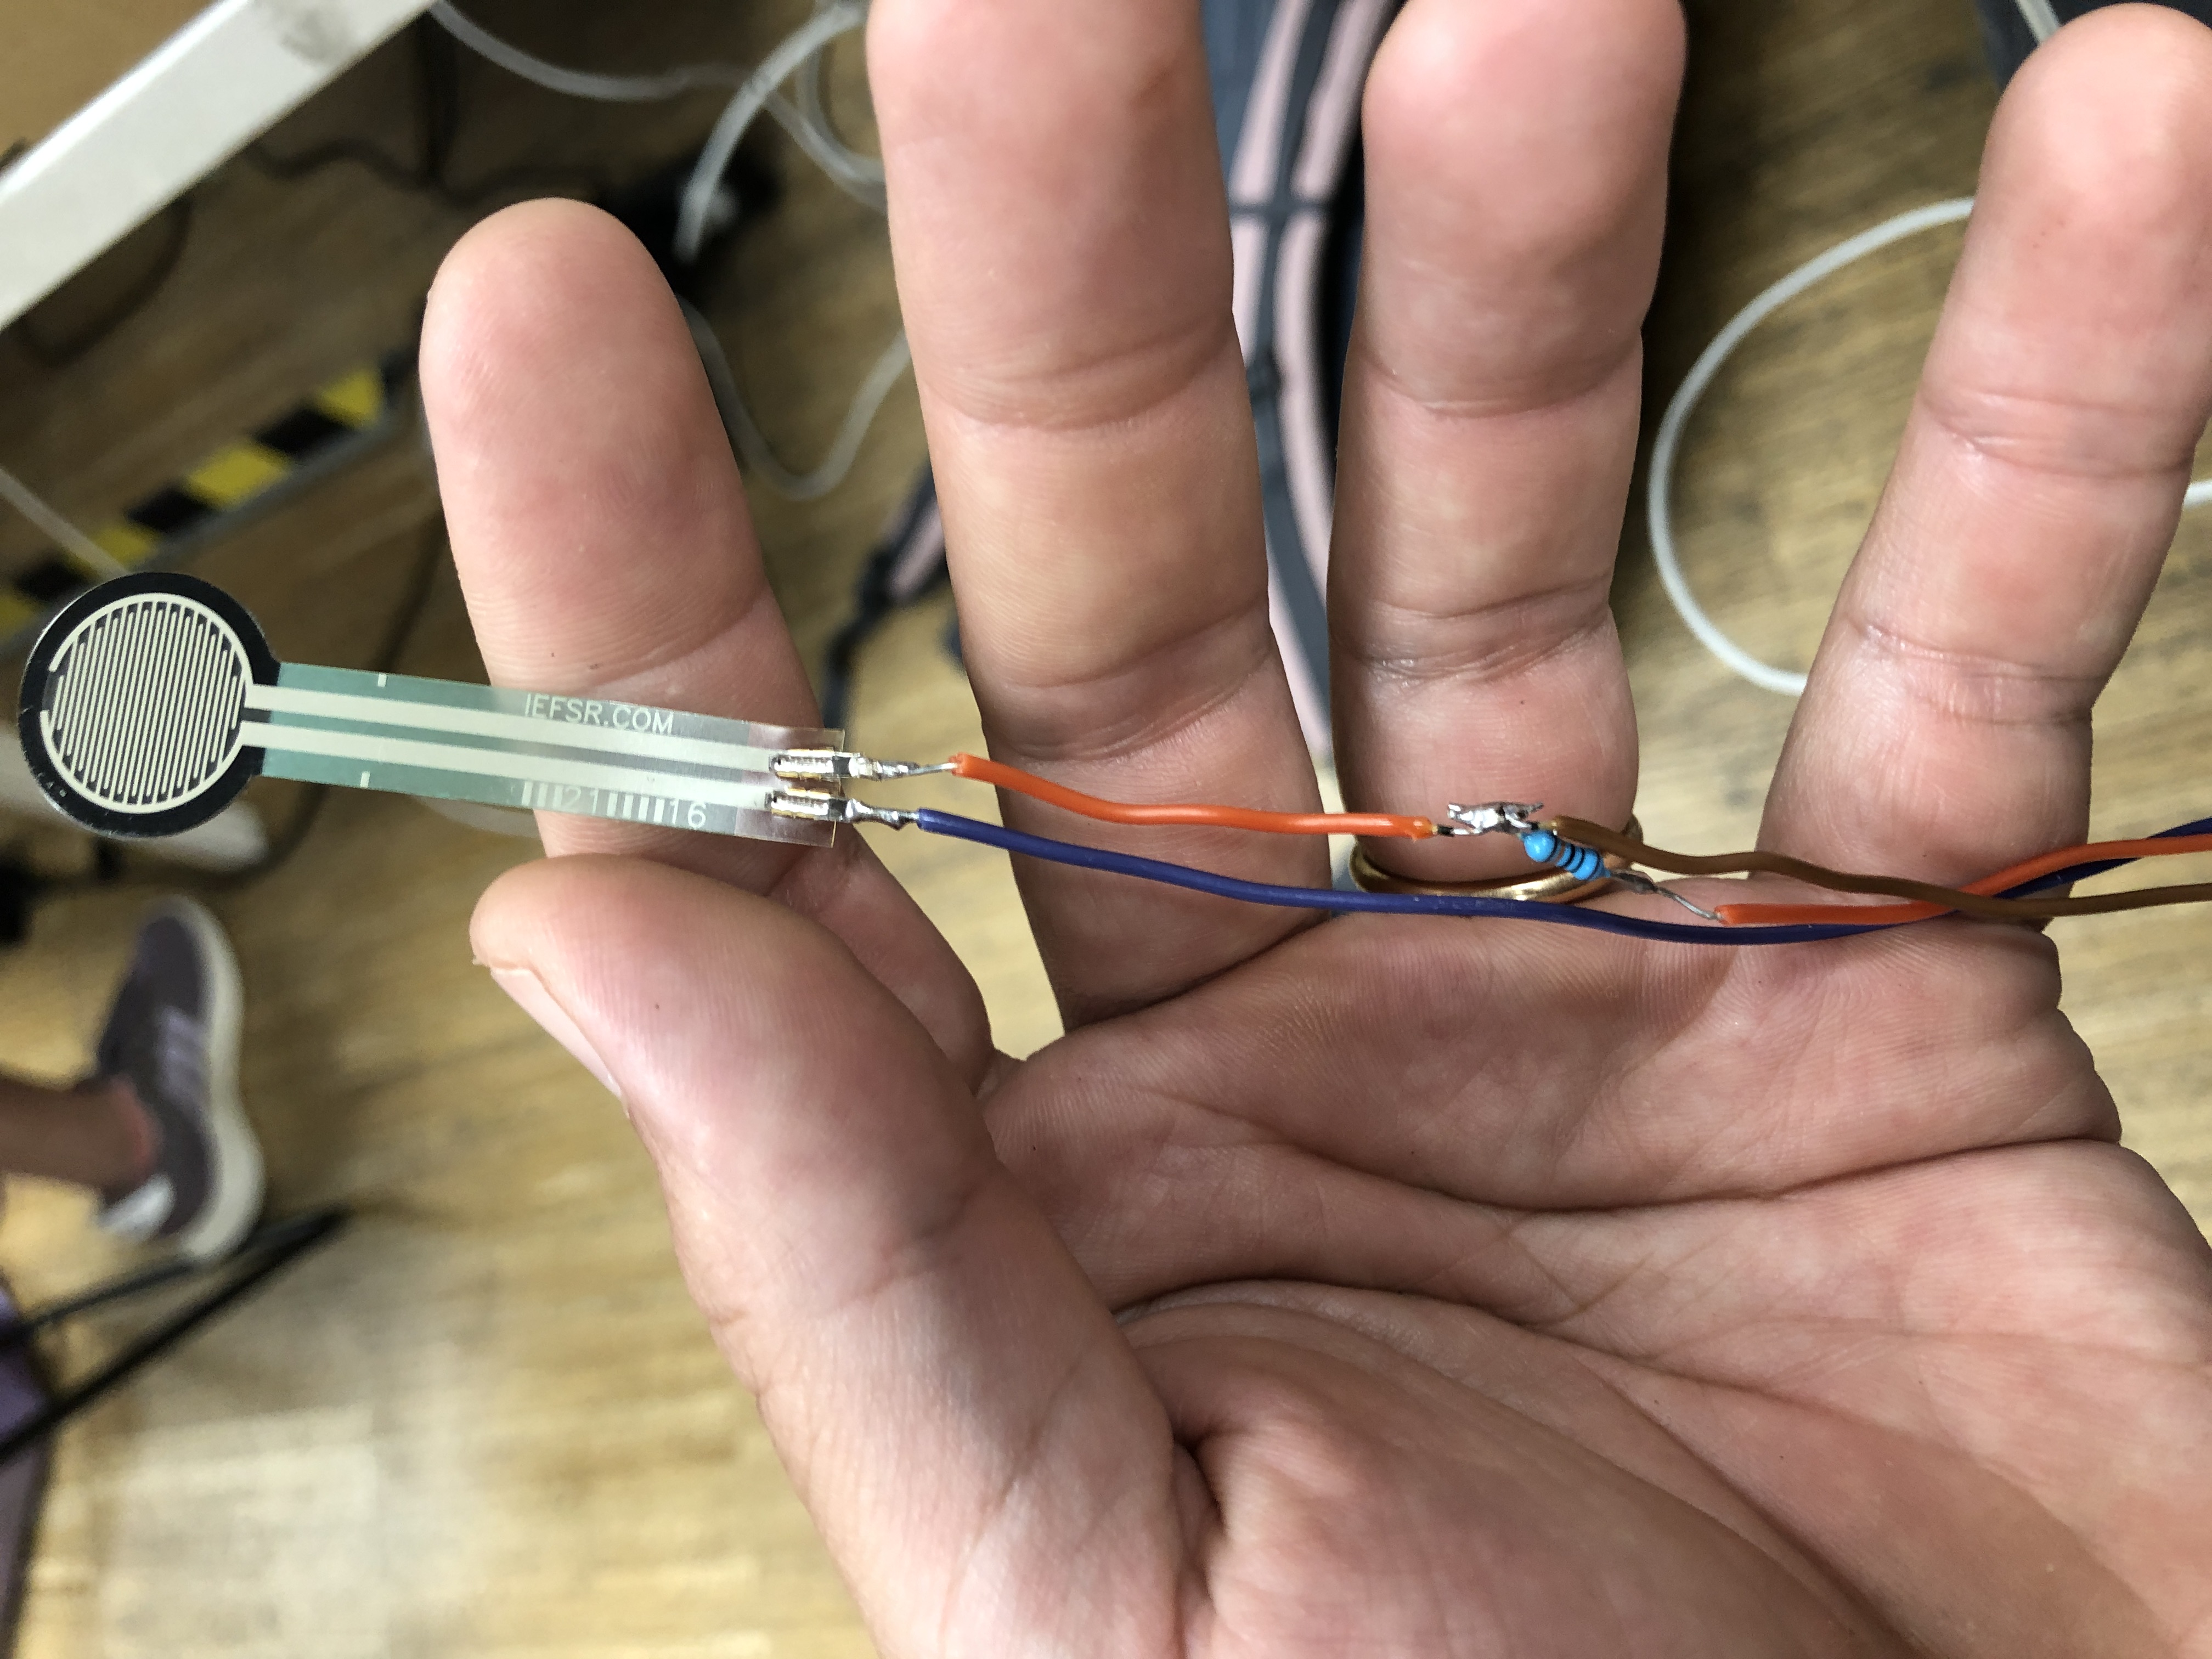
Then we soldered both potentiometer and preassure sensor. The preassure sensor was a bit tricky, because it was necessary to have a resistance in between cables, to avoid shortcircuits, we soldered the resistancefar away from the sensor.